Manual Transmission Rebuild
1989 Honda Accord LX

Up until this point, this car has been fantastic to work on. It has had many problems, but were all generally fixable. However, it baffles me that so many car manufacturers refuse to make alternator replacements as simple a task as they are. Even so, I am grateful that it led to this project, which has been on my bucket list for a while now.
Diagnosis
This project car is going strong at over 350,000 km. Unfortunately, after accidentally rolling through one of the largest puddles I had ever encountered, the alternator was pooched (an official diagnosis). Seeing the battery light come on in the dashboard and smelling the strong odor of burning wiring, I knew this repair couldn't be procrastinated.
Project Overview
Parts Replaced
- Manual Transmission Rebuild Kit ($434.19)
- Clutch Kit ($175.21)
- Starter ($90.77)
- Alternator ($59.51)
- Front Right CV Axle ($42.22)
- Front Left CV Axle ($42.22)
- Alternator & Waterpump Belt ($7.45)
Quick Stats
- Total Cost: $851.57
- Time Spent: 2 Months
- Difficulty: 5/5 (Expert DIY)
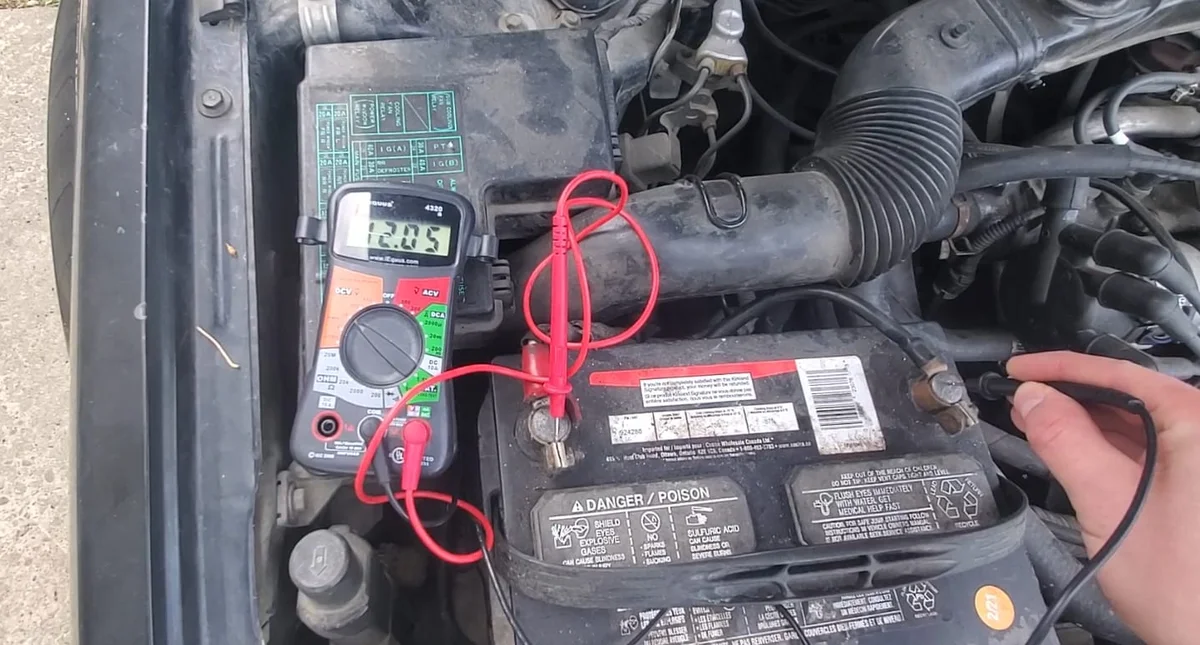
Step 1: Verify the problem
Before diving into a repair it's always a good idea to verify the diagnosis. I used a multimeter to check the voltage at the battery terminals with the engine off. No problems here, the battery was holding a steady 12.05V. But when I started the engine, the voltage dropped to 11.79V. Much lower than the 13.5V to 14.5V the alternator should be producing. This confirms that the alternator was struggling to power the car and charge the battery properly.

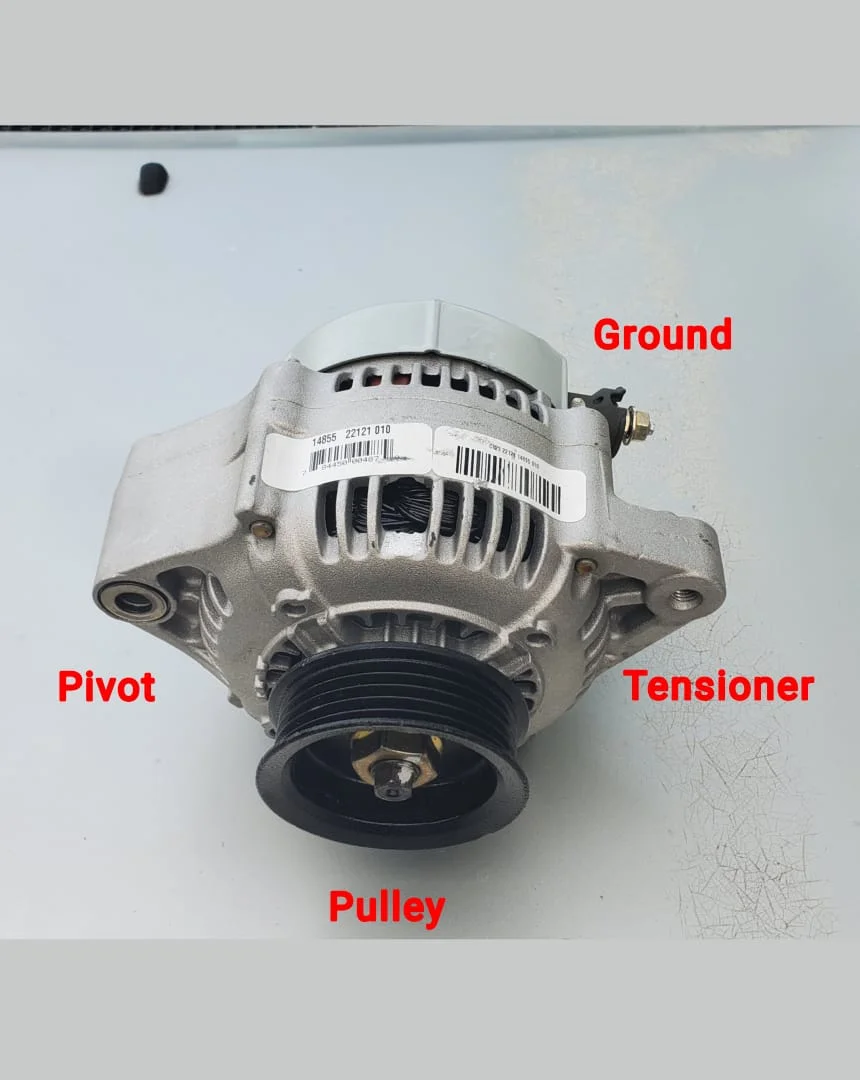
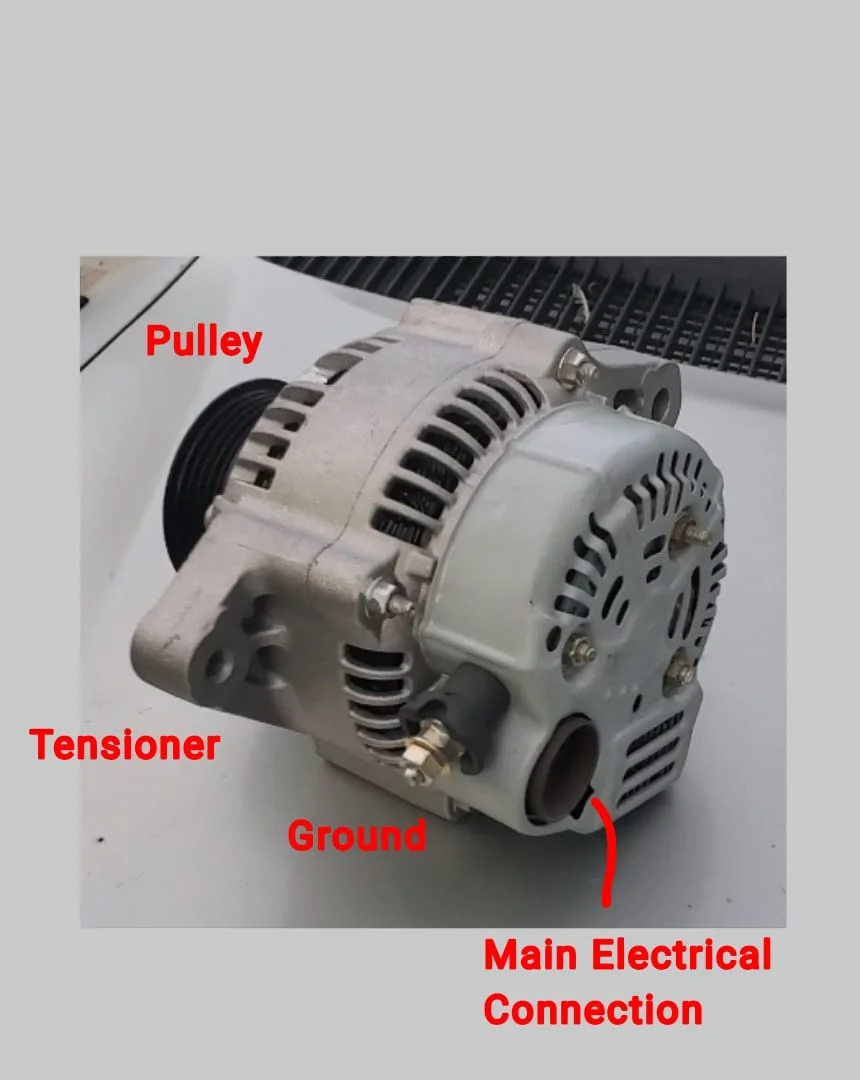
Step 2: Taking out the alternator
Analyzing the alternator gave me a quick understanding of which bolts and connections to remove from the old one currently in the car. The alternator is held in place by the belt pulley, a mounting (pivot) bolt, a tensioner bolt, the primary electrical output connection and a smaller ground connection. I started by removing electrical connections, the belt pulley, the tensioner bolt, then finally the mounting bolt.
Problem: Once it was removed, it became very clear that I had underestimated the difficulty of this repair. The alternator was too large to fit through any gap in the engine bay which left me with 2 options. Either I take out my entire air intake system which includes disconnecting the carborator (yikes) to bring it up out of the engine bay, or I remove the front passenger side CV axle to create a gap large enough to remove the alternator from below. I chose the latter.
Step 3: Passenger Side CV Axle Removal
Since it's an older car I decided I might as well replace both CV axles entirely. This was a really smart move because the passenger side axle fell apart with almost no effort. The bearings were free and grease was everywhere. Partly my fault for not being careful enough.

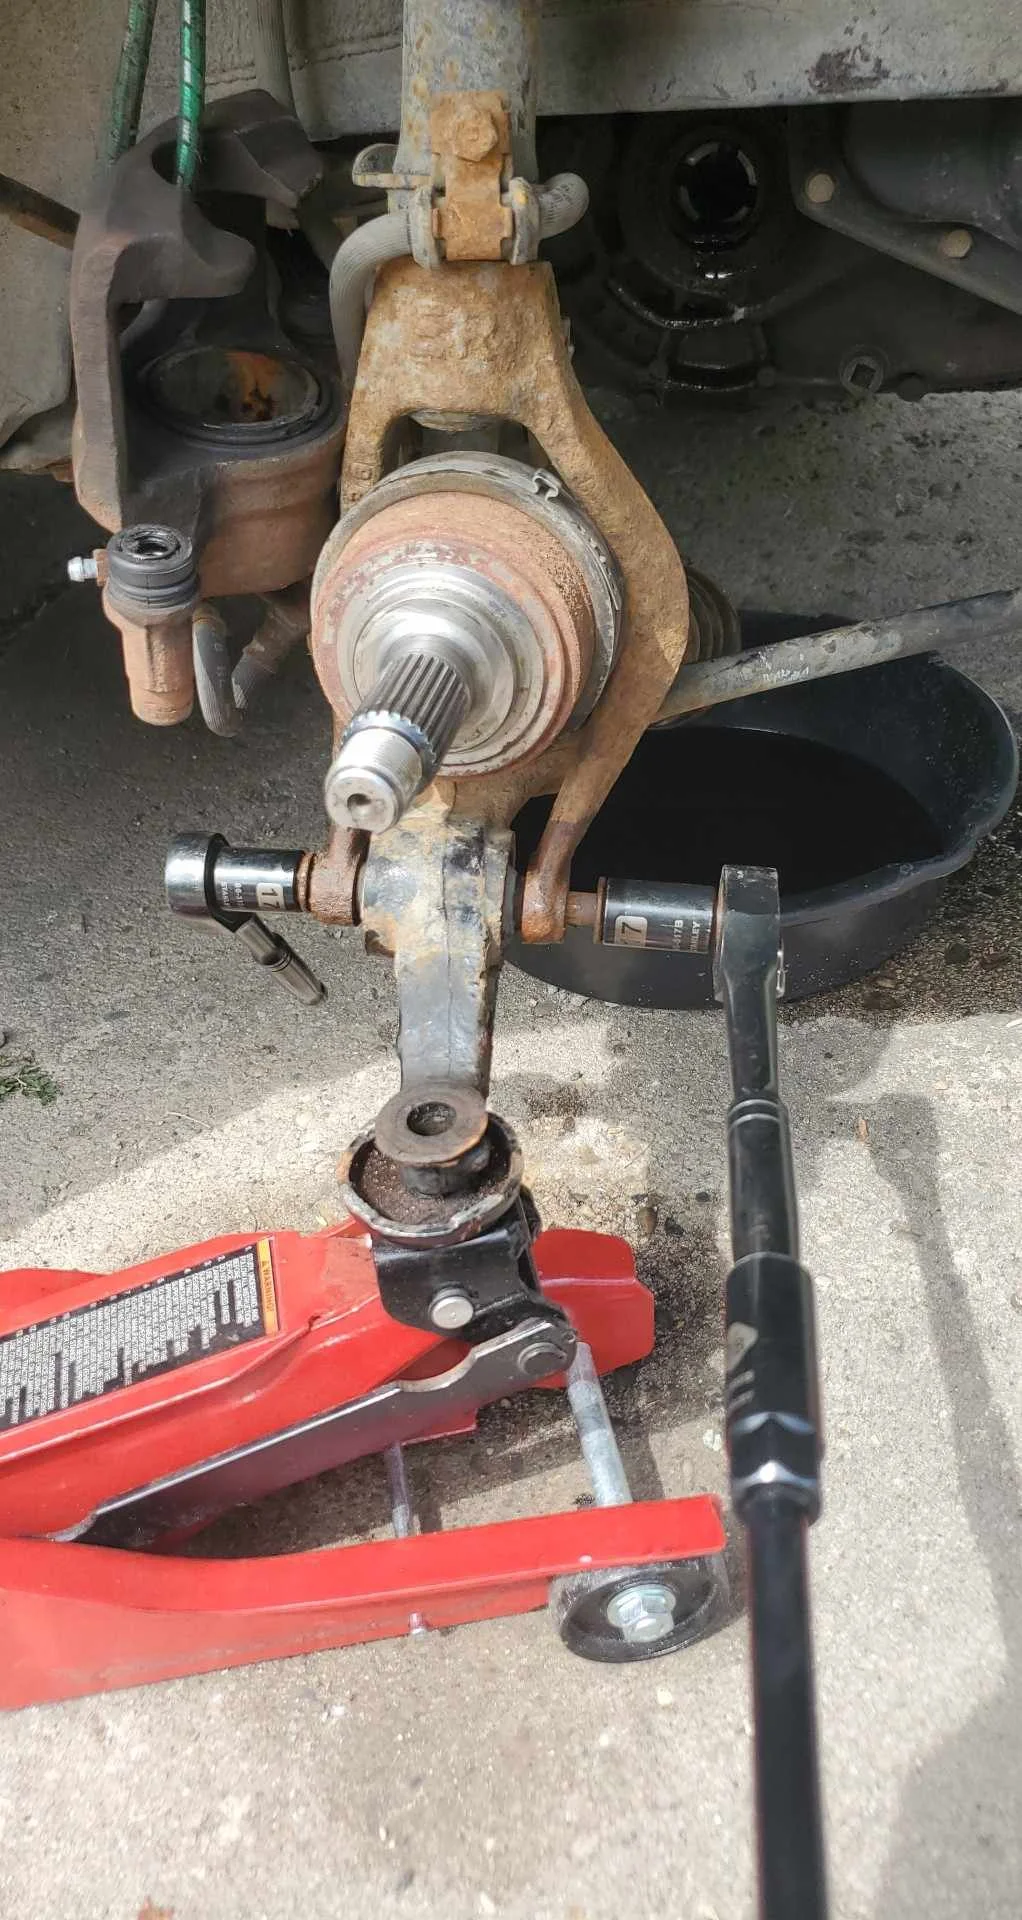
Step 4: Driver Side CV Axle Removal
The driver side CV axle was a different story. Instead of being an easy slide out, I had to remove the ENTIRE suspension assembly.
Step 5.1: Transmission Removal
At this point, the transmission was half way from being ready to be removed. Both axles were out and all the fluid was on the driveway. I was having issues shifting easily between gears, so I decided this would be the best opportunity to take the transmission out and rebuild it.
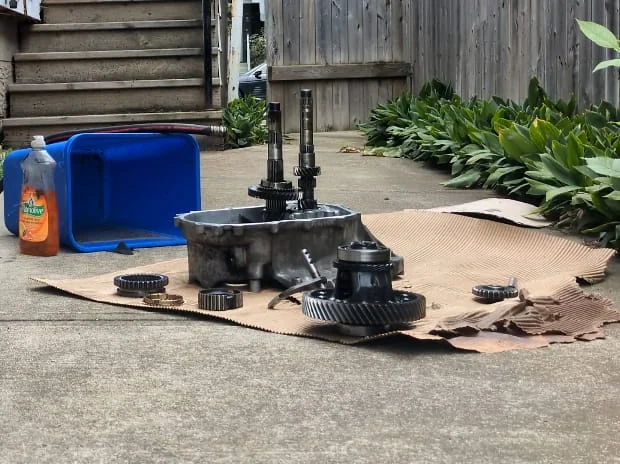
Problem: The day my bud came to help with this process it rained. Why not. I didn't have access to the garage at the time, so we had to improvise on the driveway.
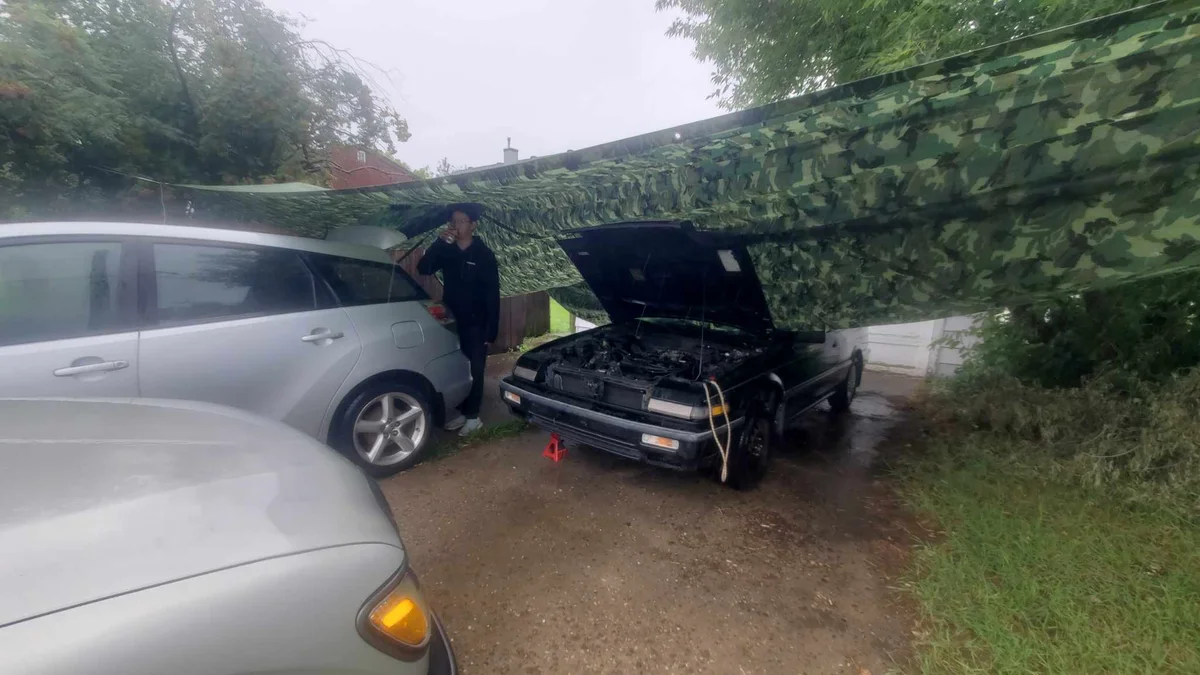
Step 5.2: Transmission Removal
Trying to remove the transmission in the rain was a complete disaster and didn't really go anywhere. Don't do this.
To remove the transmission, I had to also remove the starter, so although I dont have the photos for that, I decided to replace it too.
The transmission was extremely heavy and I didn't have a transmission jack. I ended up having to use a floor jack with a piece of wood on top to support the transmission. It was a sketchy process, but I managed to get it out without dropping it.
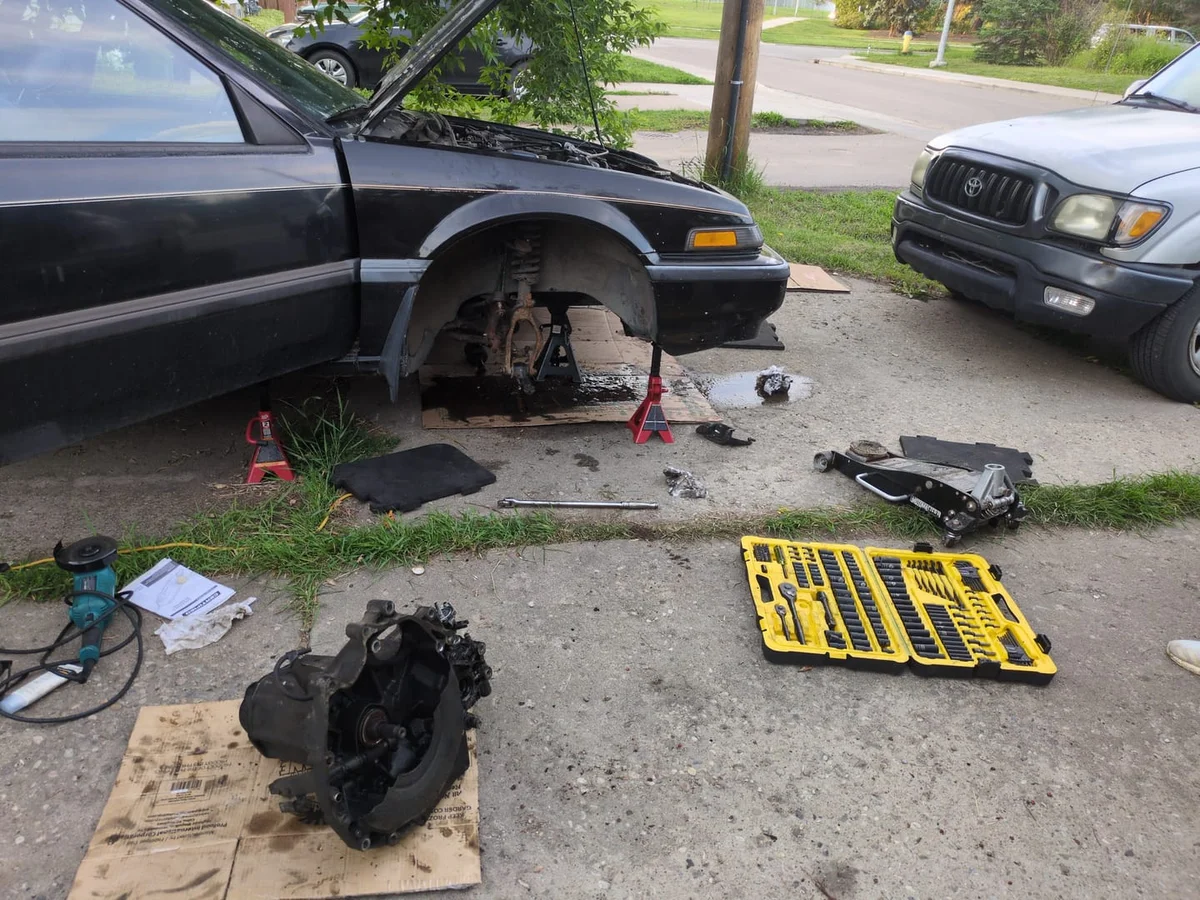
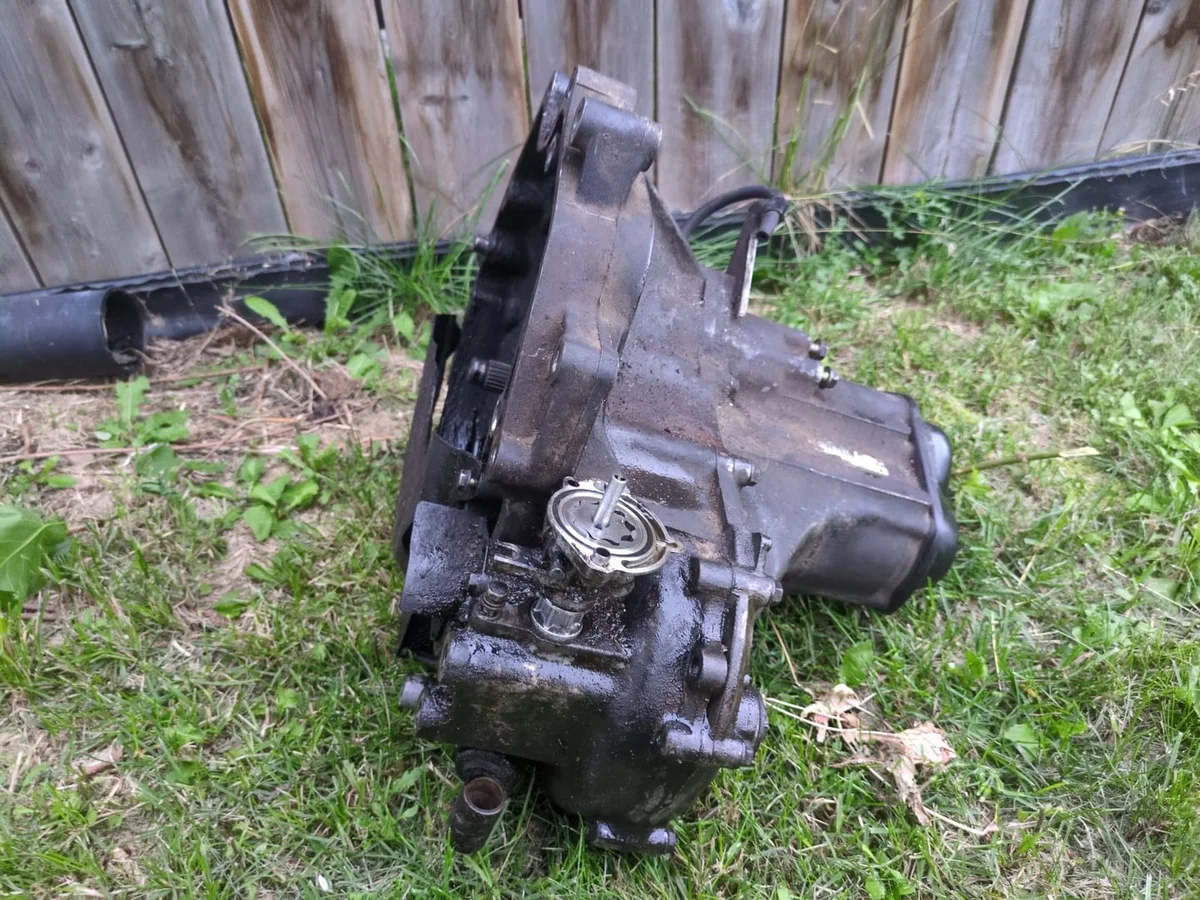
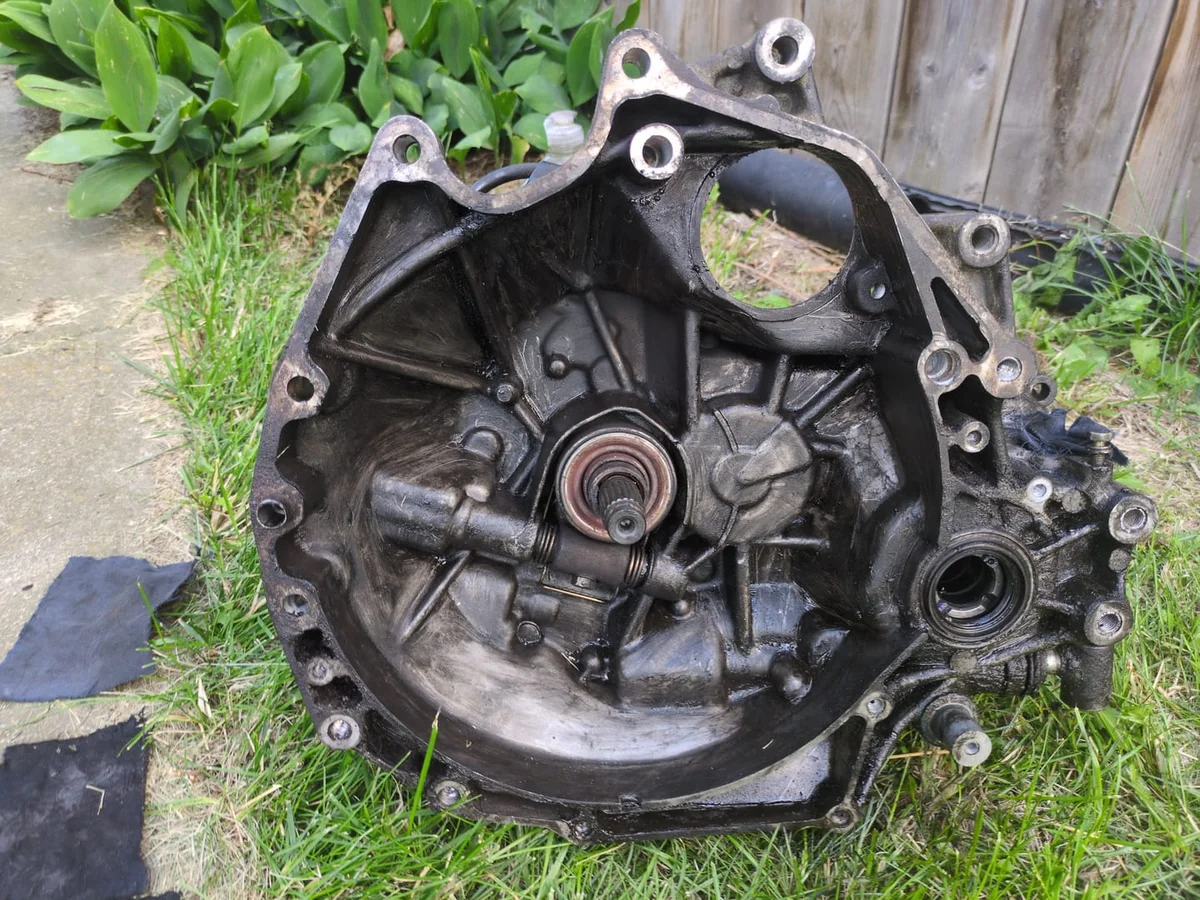
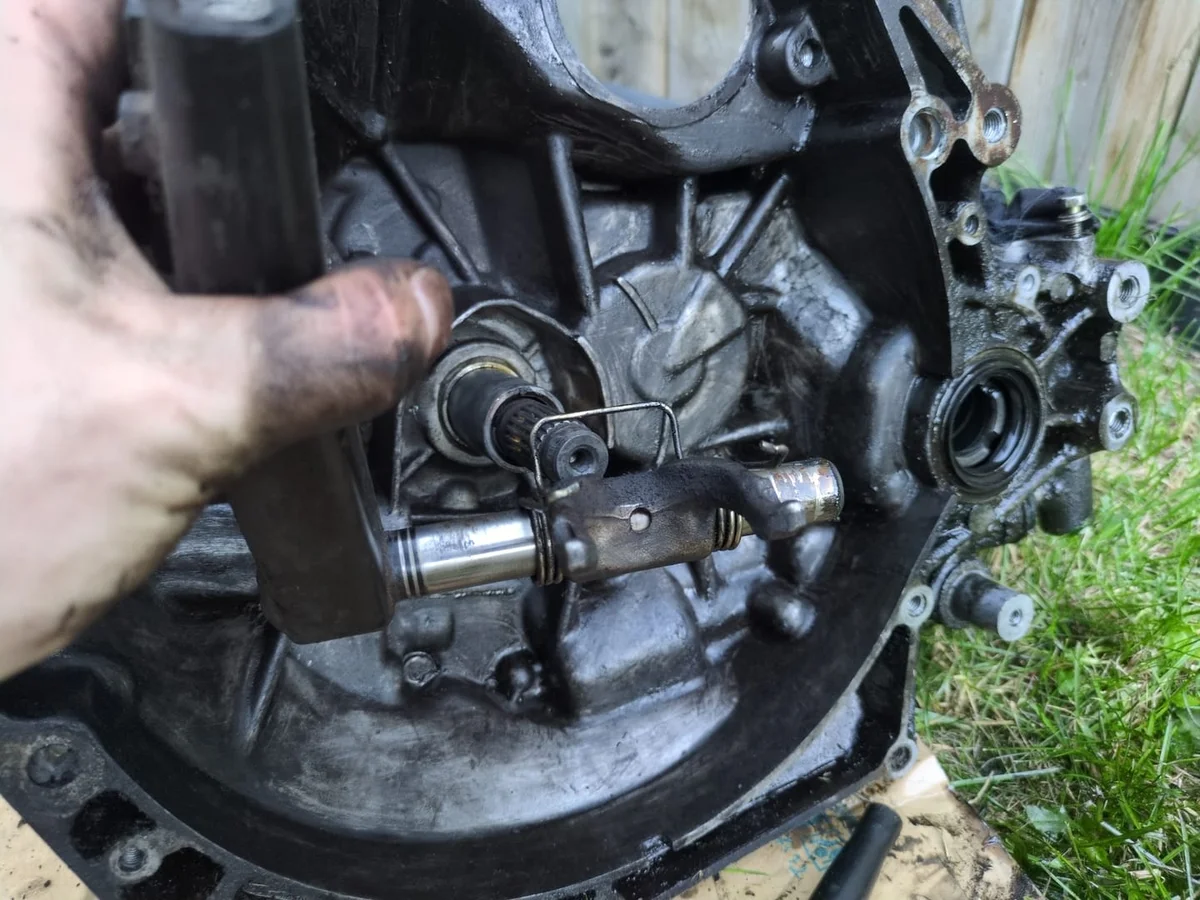
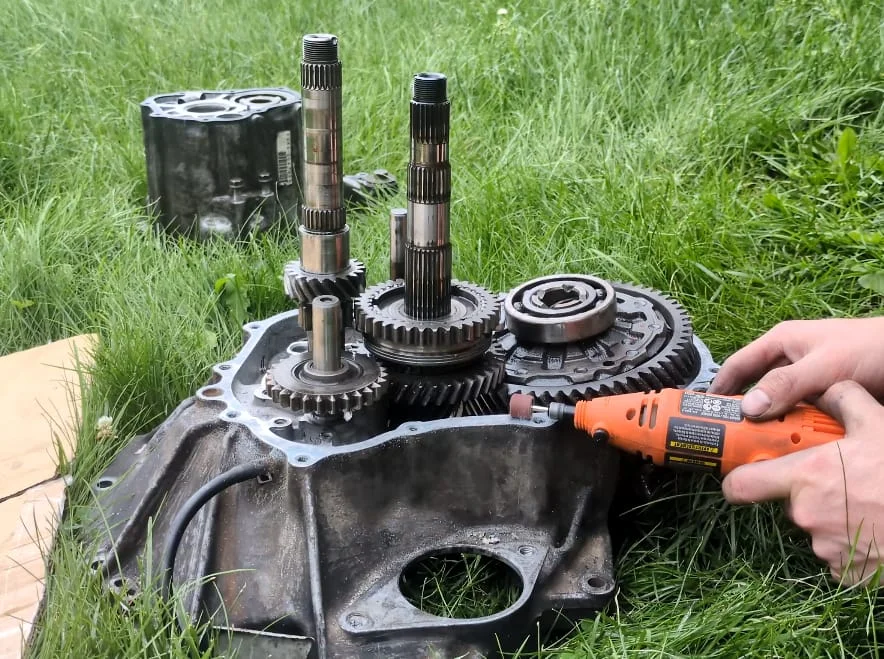
Step 6: Transmission Teardown Part 1
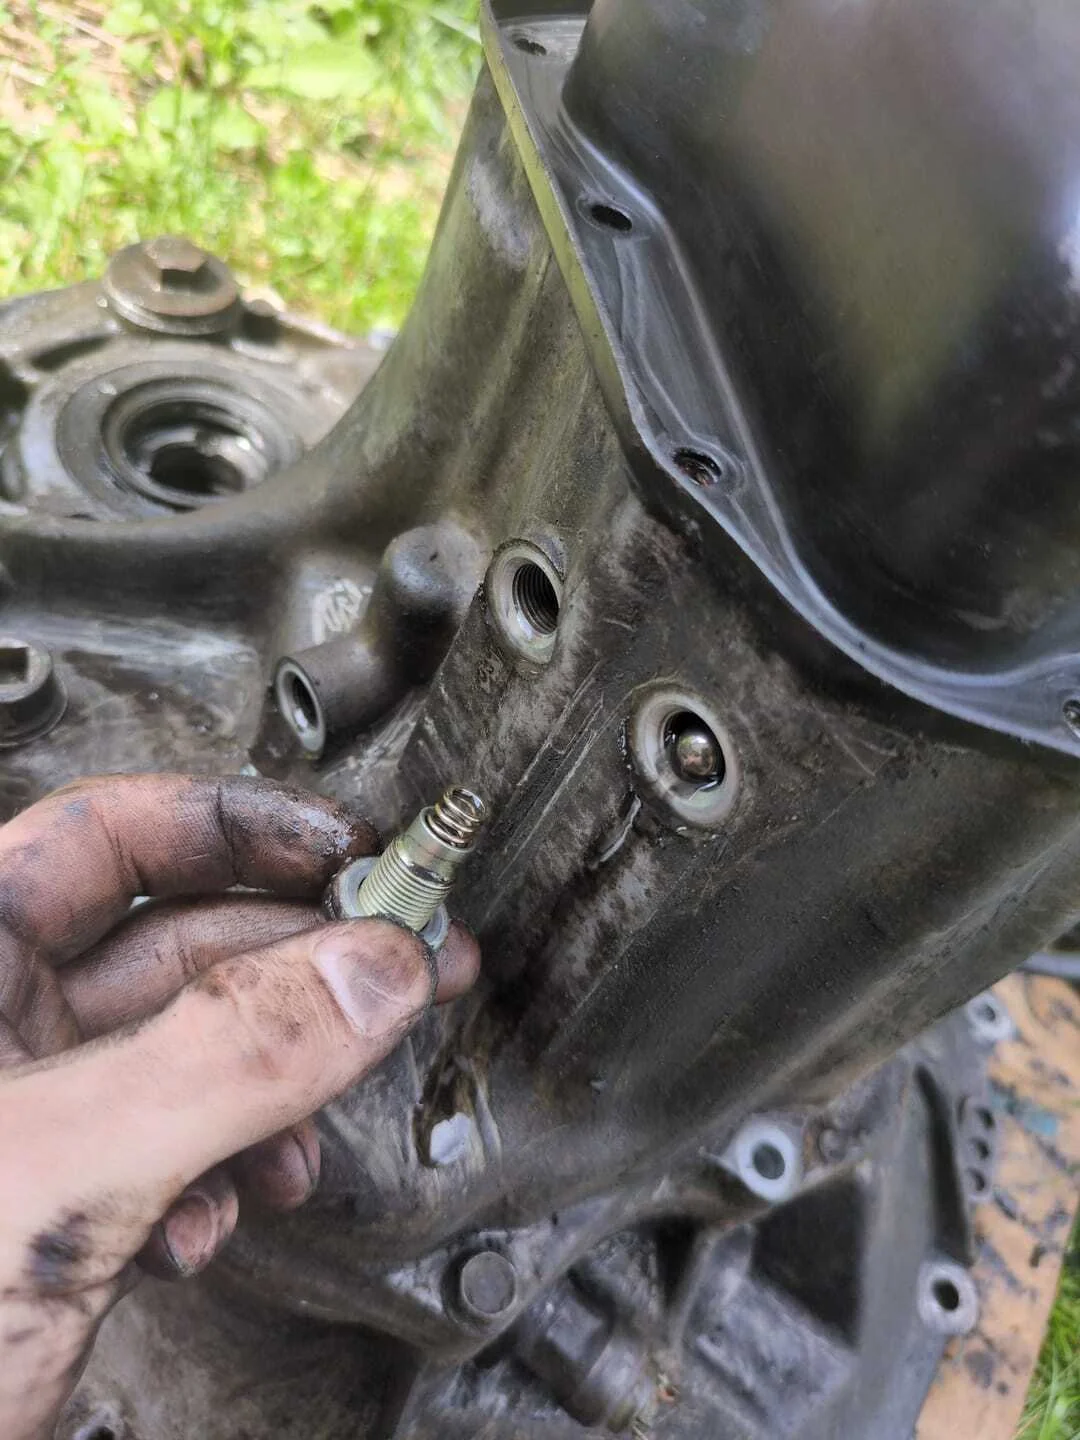
30 years of grease and dirt build up. The initial teardown process required many hours of just scrapping clumps of grease from the main case and bell housing. This included disassembling the speedometer gear housing, shifter lever, shfit detent balls, throwout bearing, the case bolts, etc.
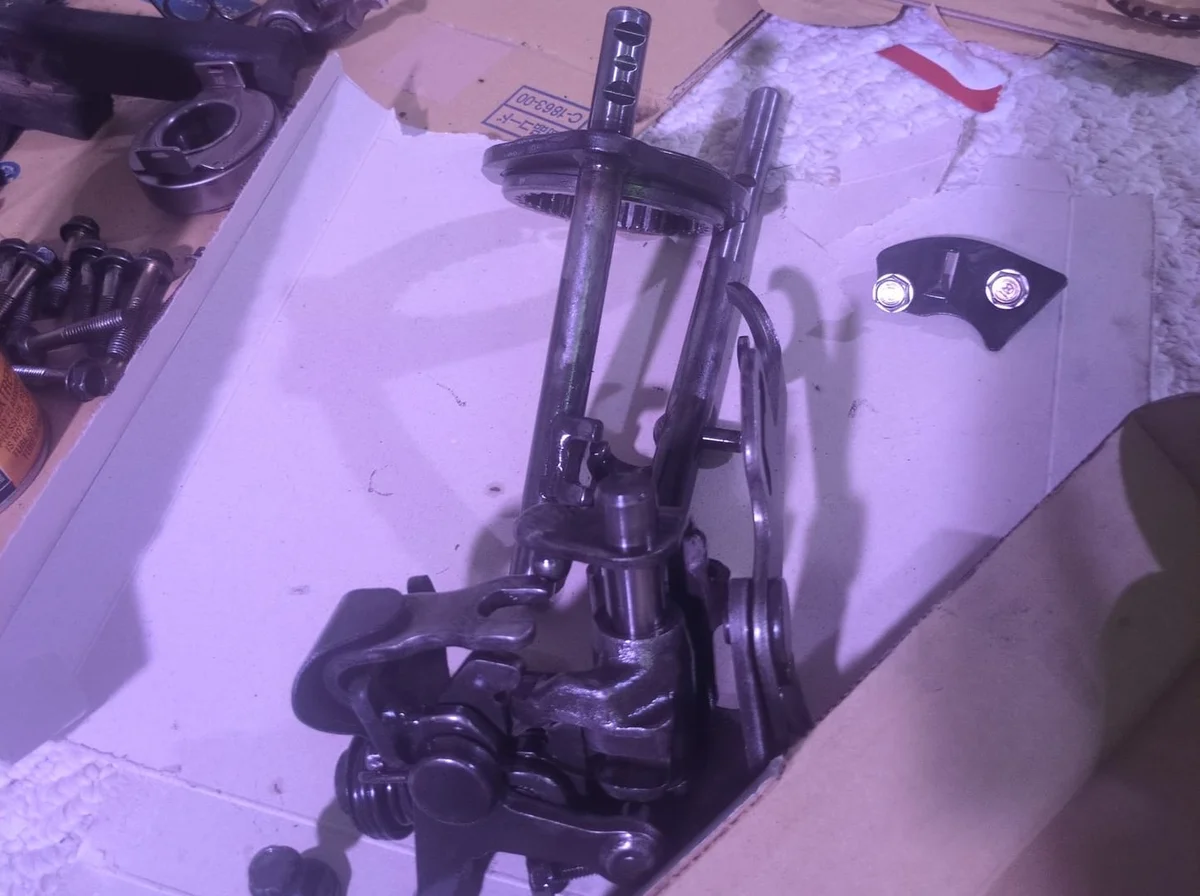
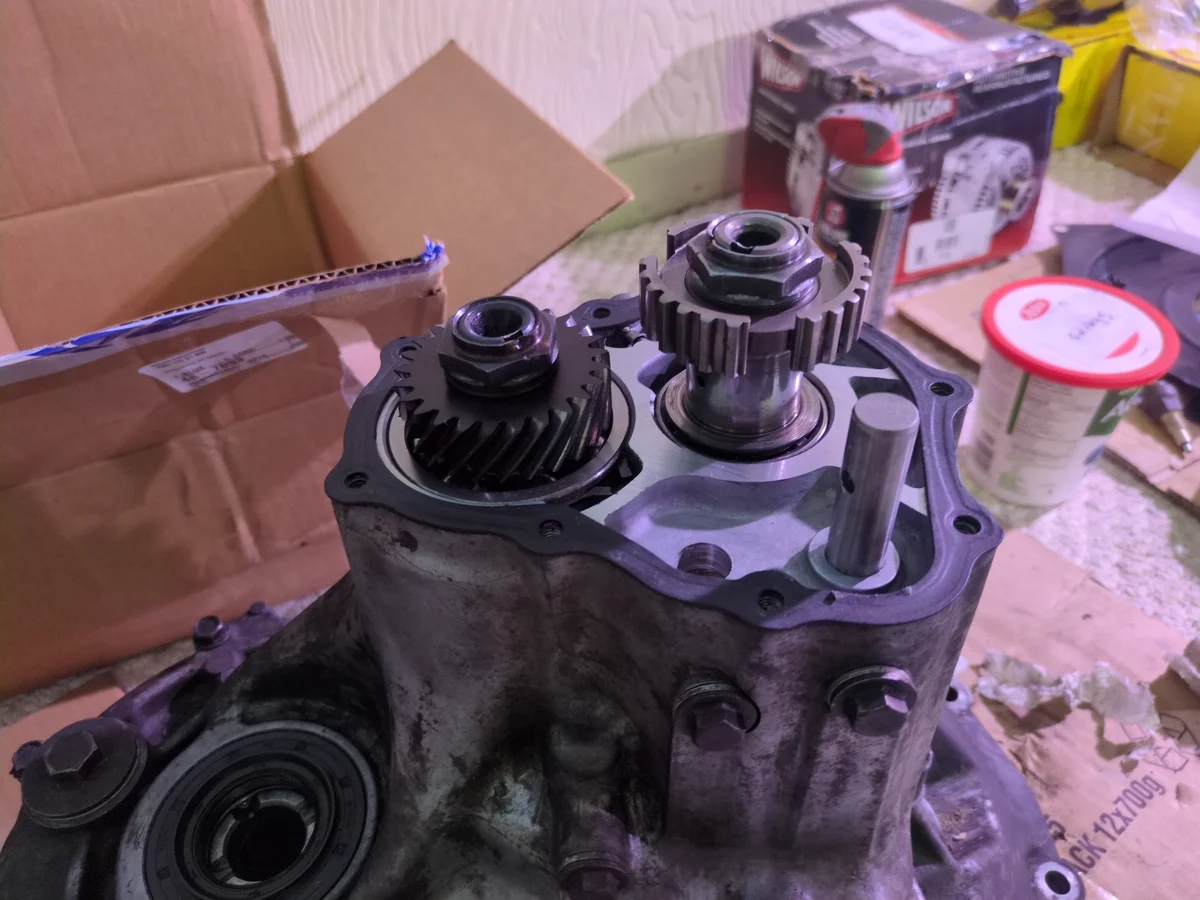
Step 7: Transmission Teardown Part 2
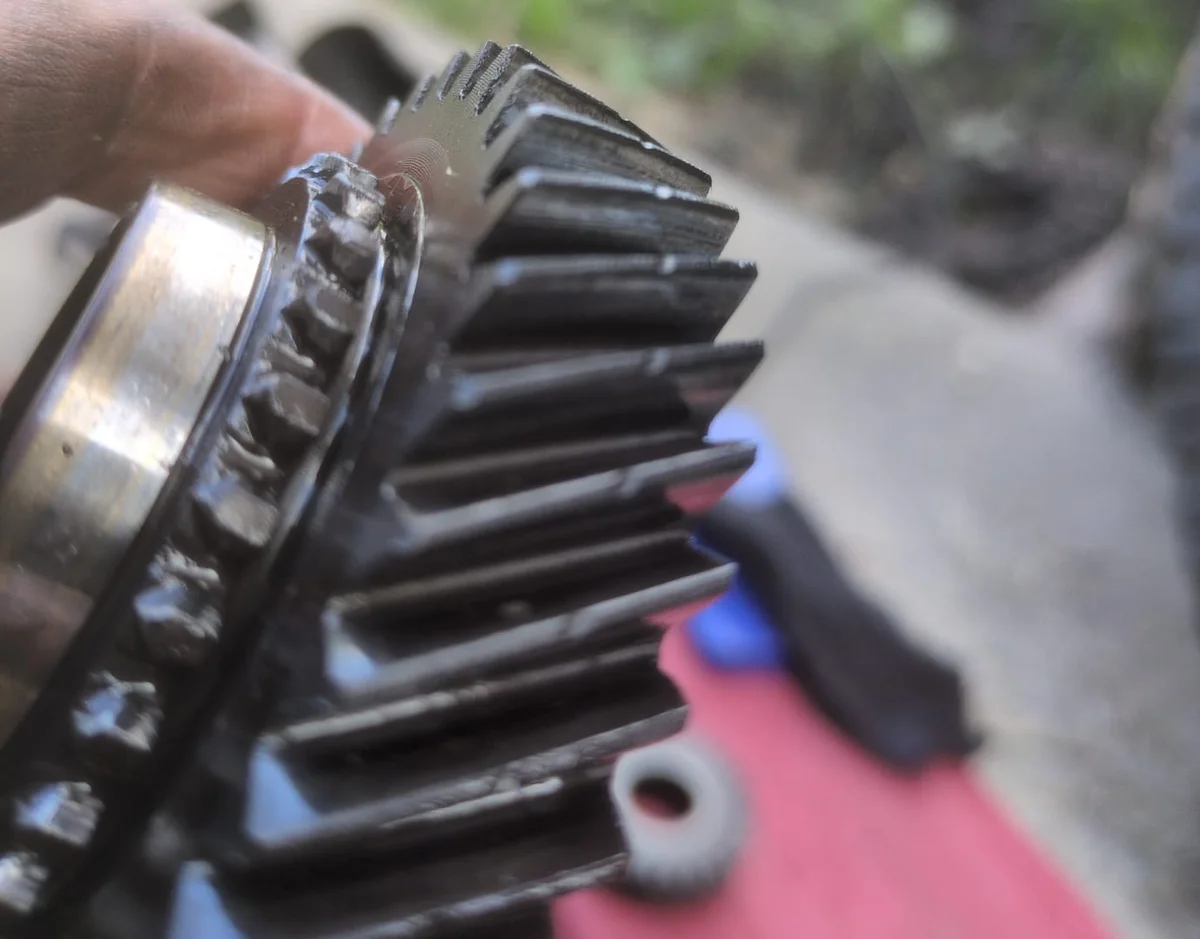
The next step was to remove 5th gear. For whatever reason, the 5th gear lives in its own little housing on the outside of the transmission case. Because of this, anyone with this transmission should be aware that any minor transmission leaks can become a very serious problem and will likely starve 5th gear of oil. However in the case of repairing this is very convenient, so it was a simple matter of removing a few bolts and sliding the gear out.
Problem: The 5th gear was chipped from previous grinding when shifting. This was a really fun surprise...
Solution: Do nothing. It is a minor chip and not worth the effort to replace this hard to find part.


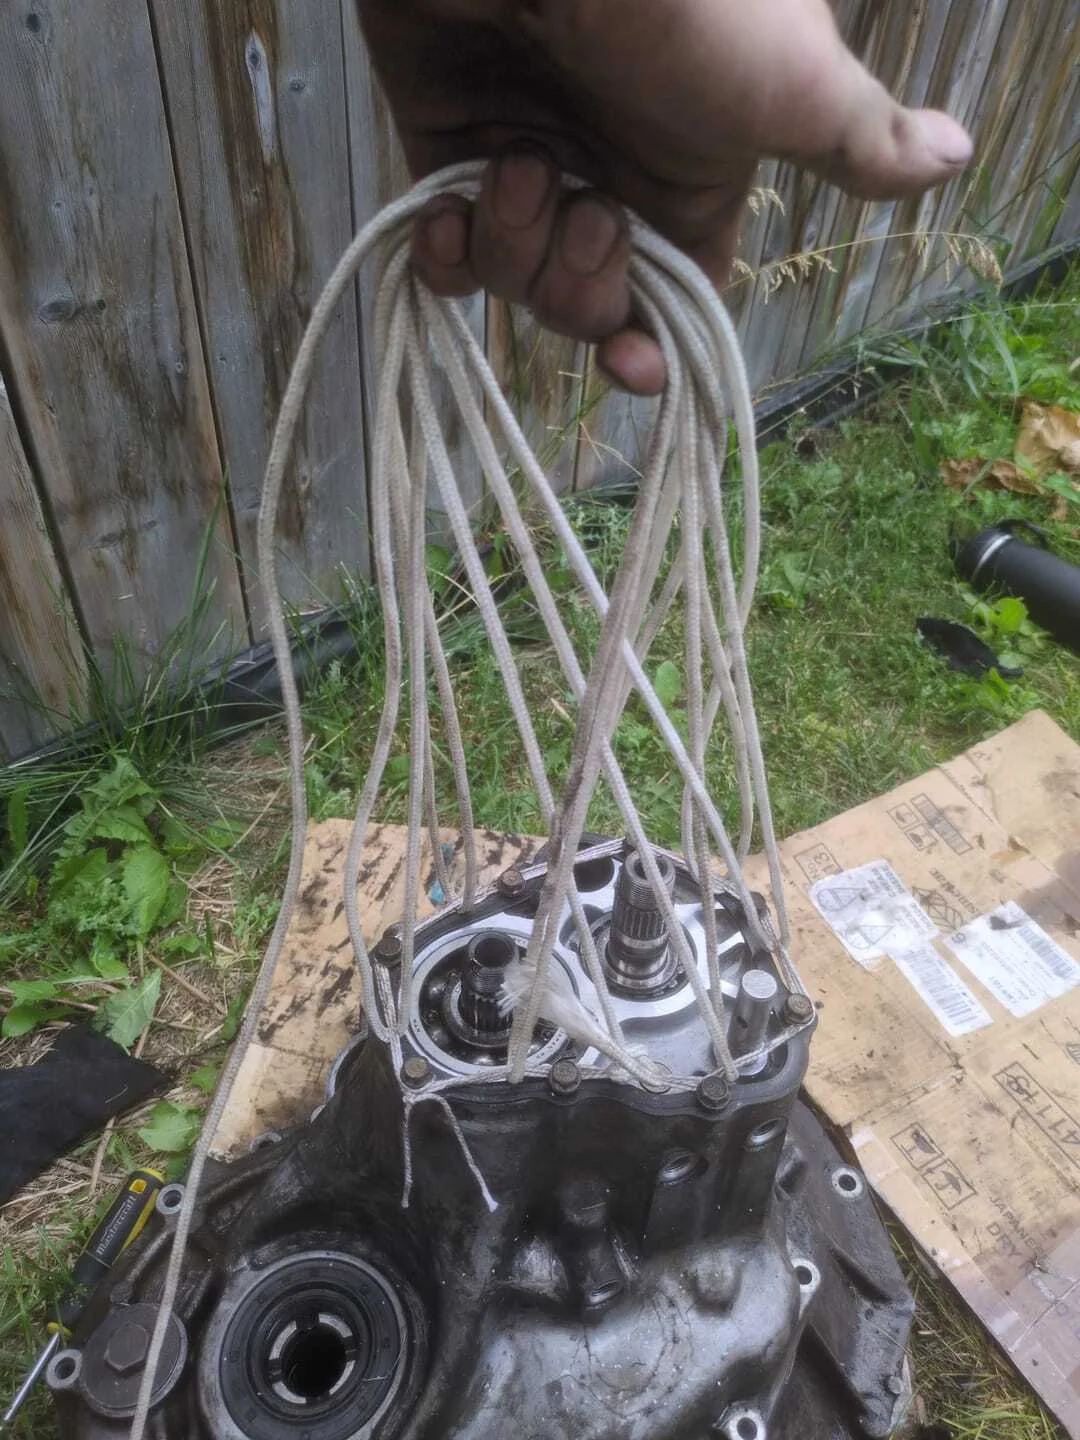
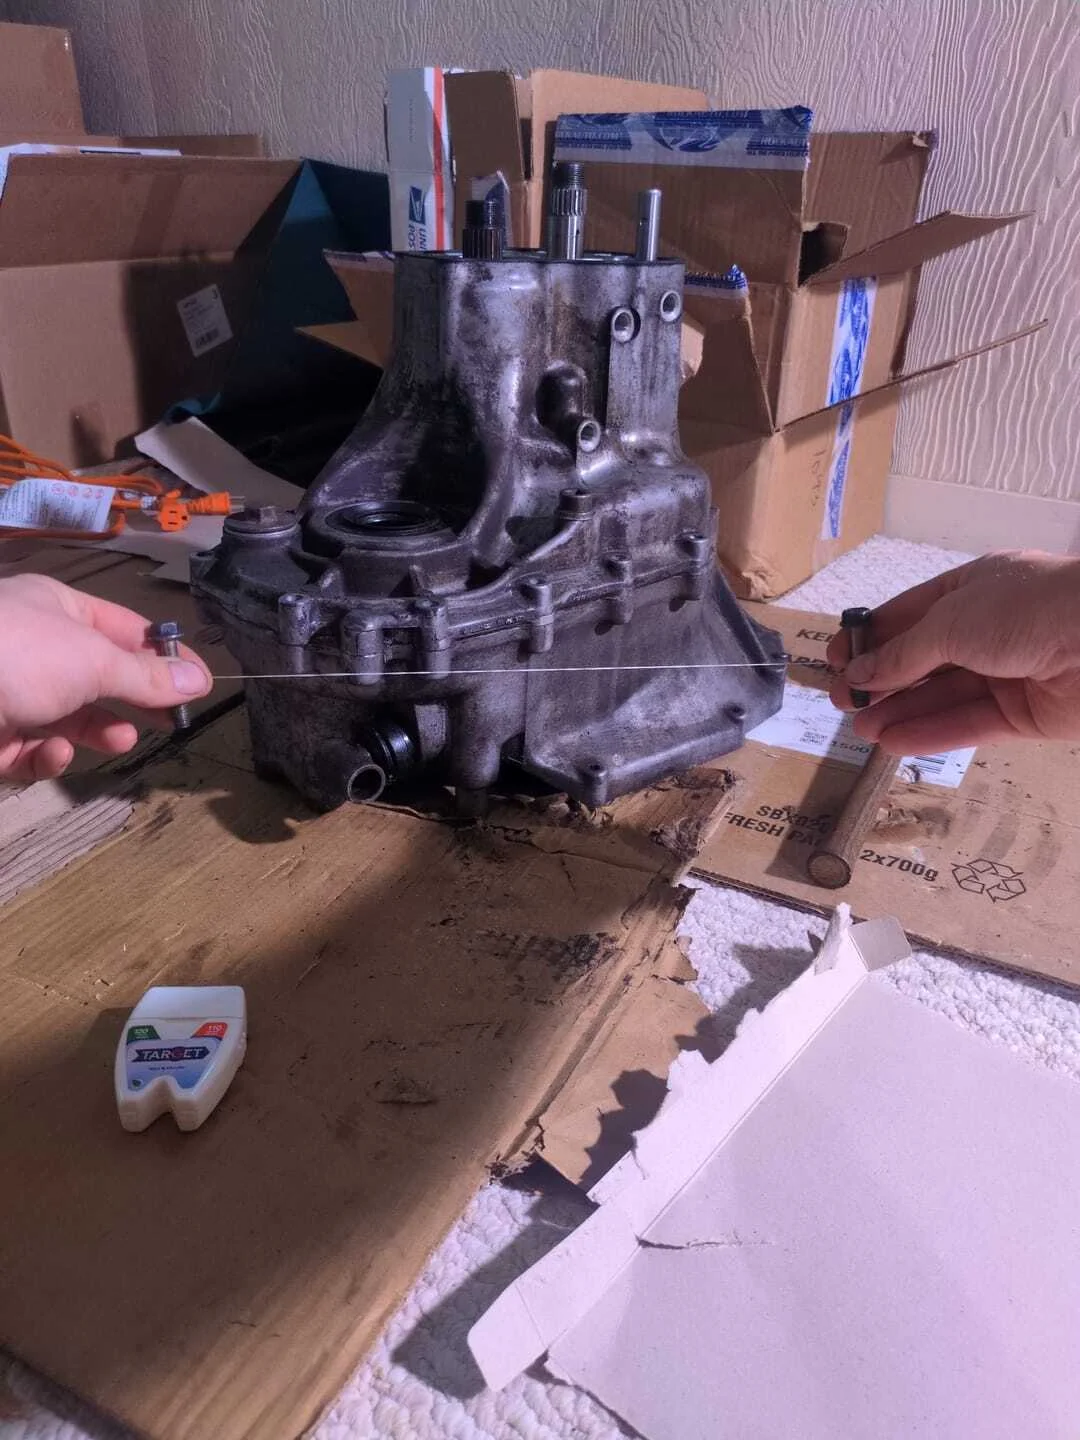
Step 8: Splitting the Bell Housing from the Main Case
This was surprisingly difficult and I struggled to get it out. I tried carefully prying it with a flat head screw driver but this started to dent the maluable aluminum case. I then tried yanking it out with rope but in hindsight this was terrible idea and almost broke my back. I was desperate enough to try and use floss/string to pry it out. I tried for days with varying methods but was unsuccessful and eventually opted to take it to a shop. However, no shops around would even take it in and I was forced to take it to a powertrain shop who wouldn't normally work with transmissions in general. They are truly my heros and had it cracked in half an hour.
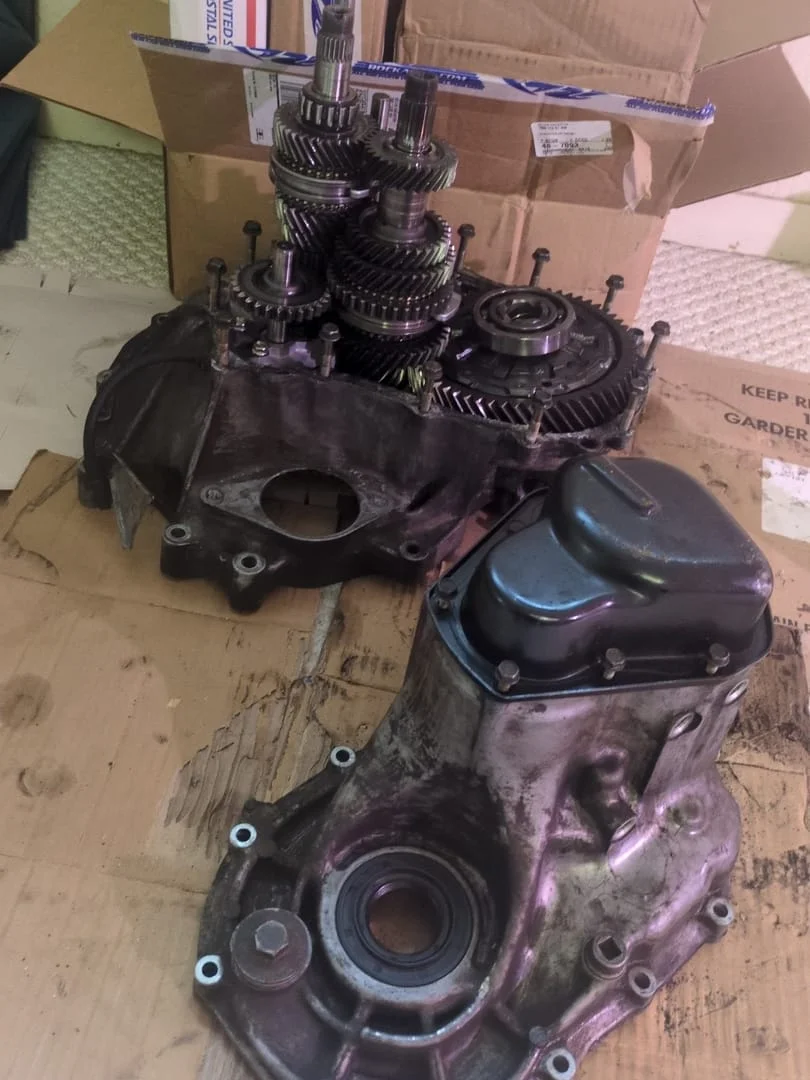
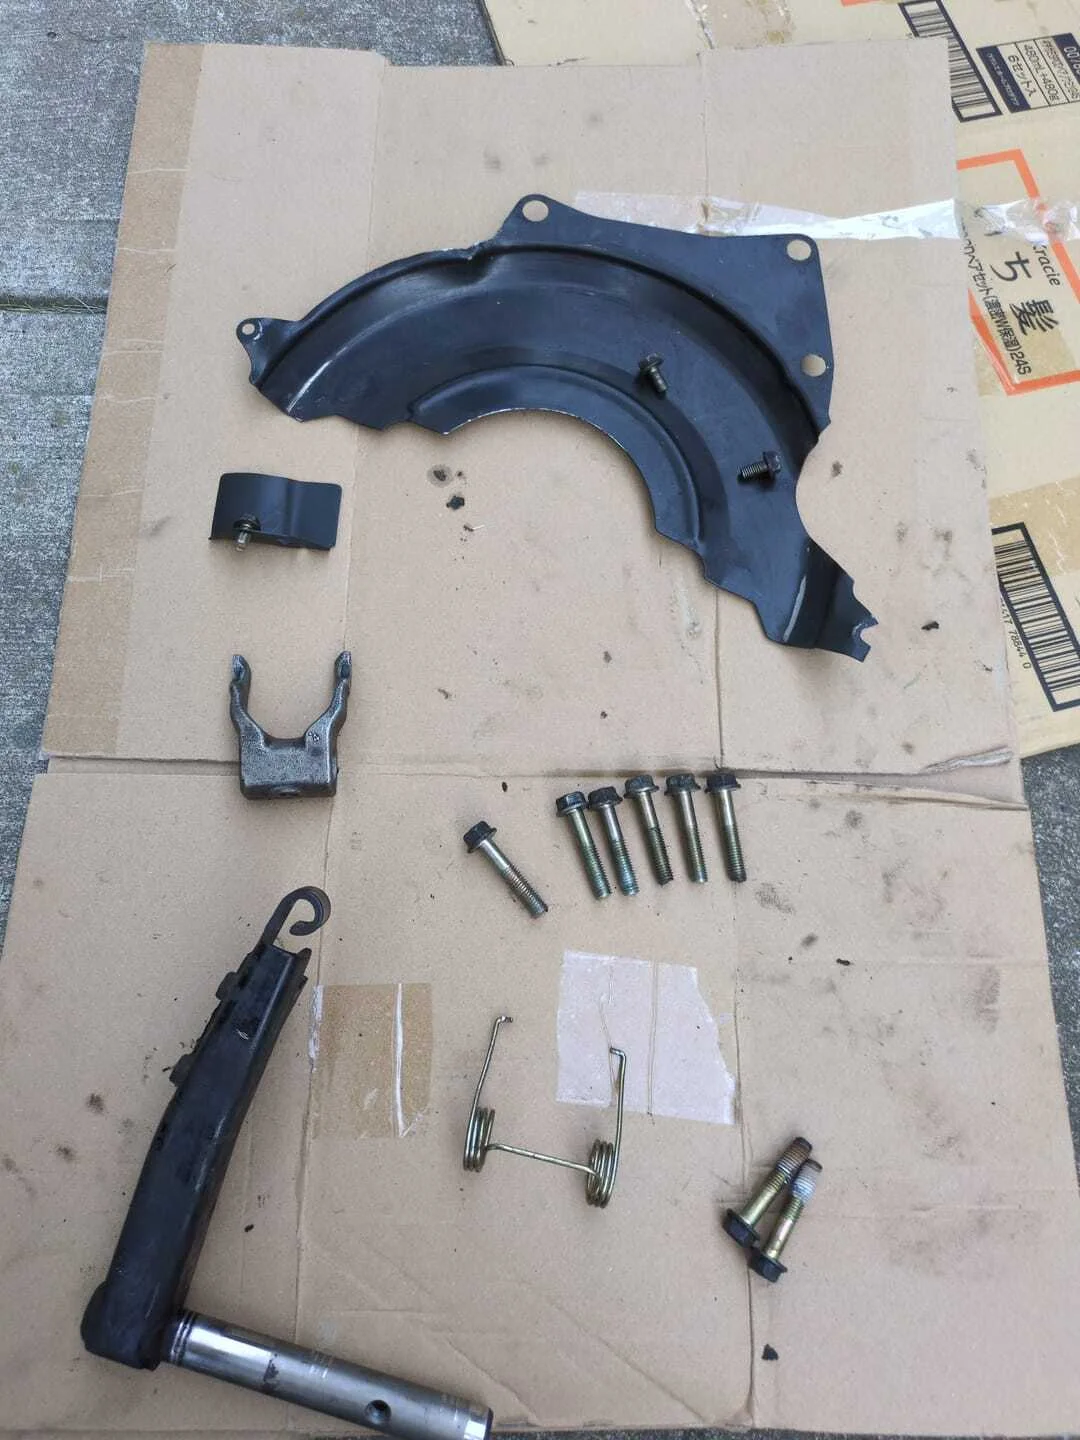
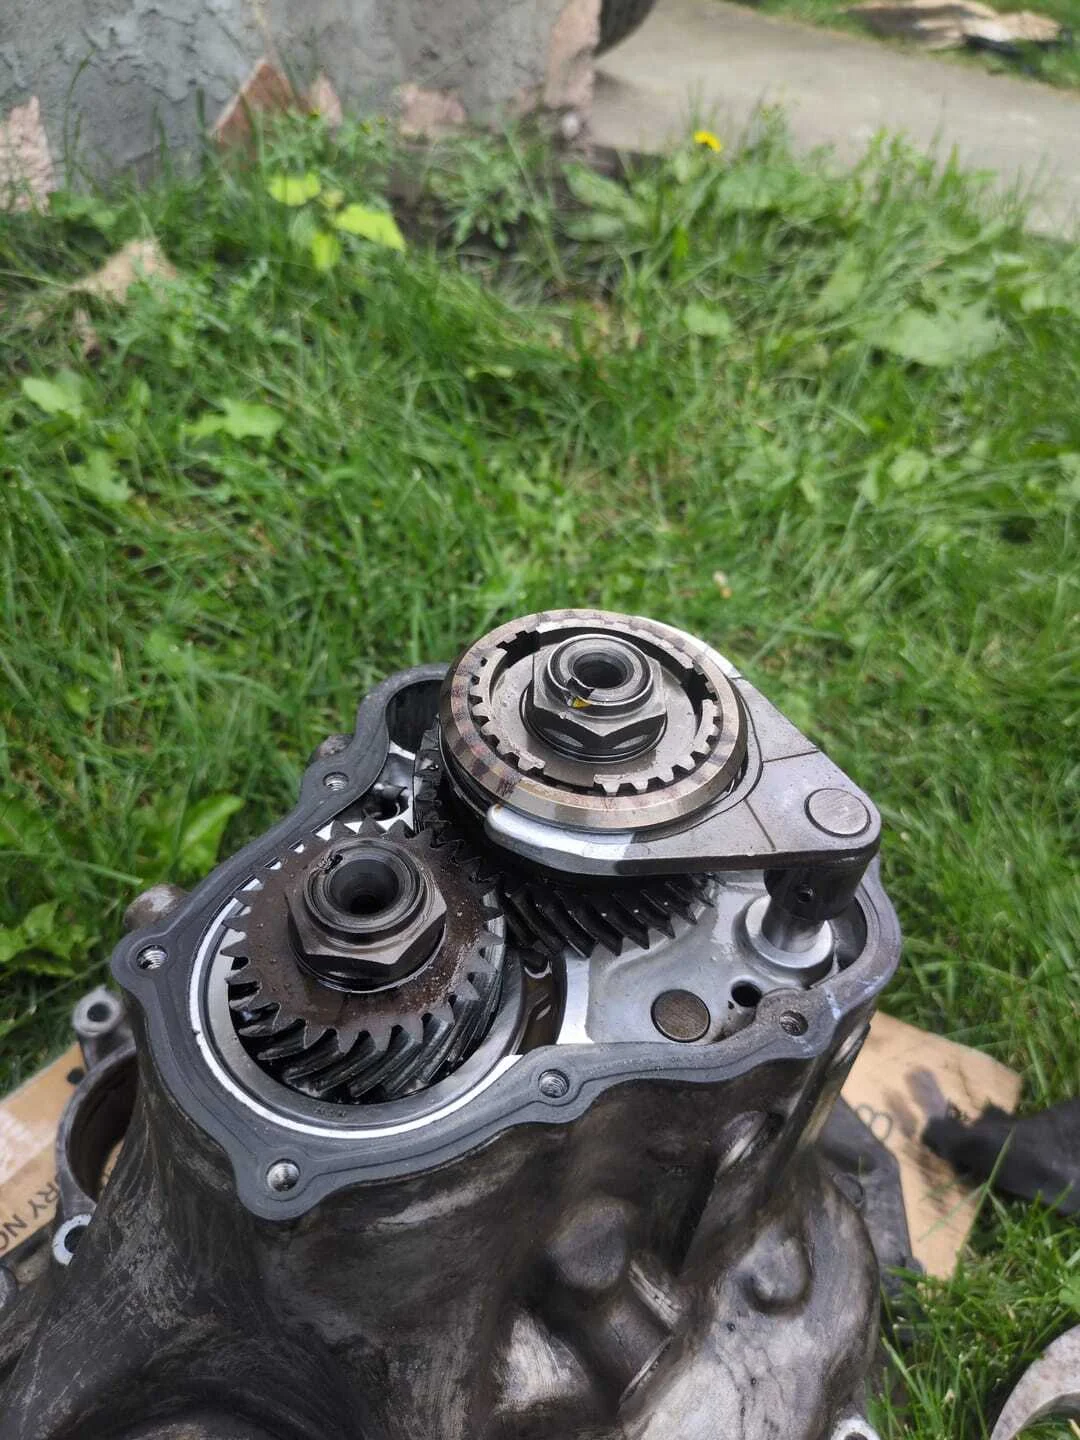
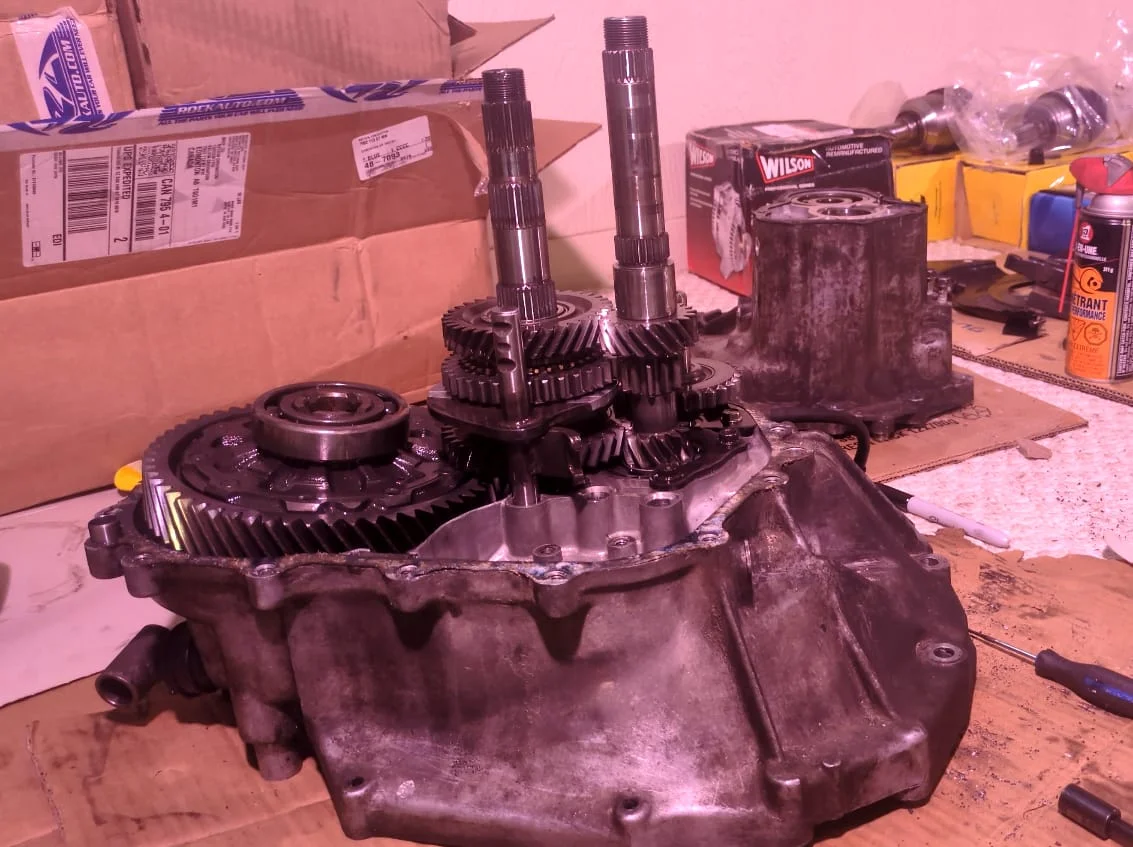
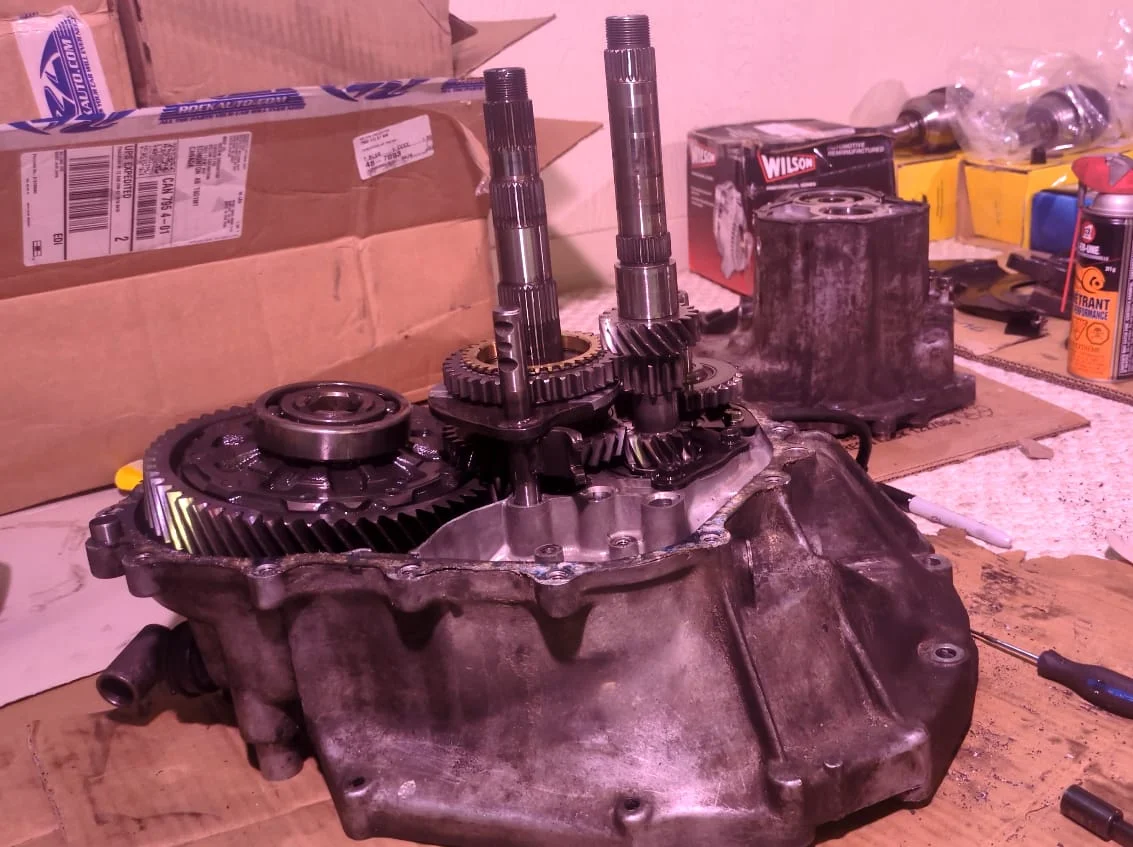
Step 9: Transmission Teardown Part 3
Heres a quick montage of the teardown of 4th to 1st gear including the linkages and reverse gear.
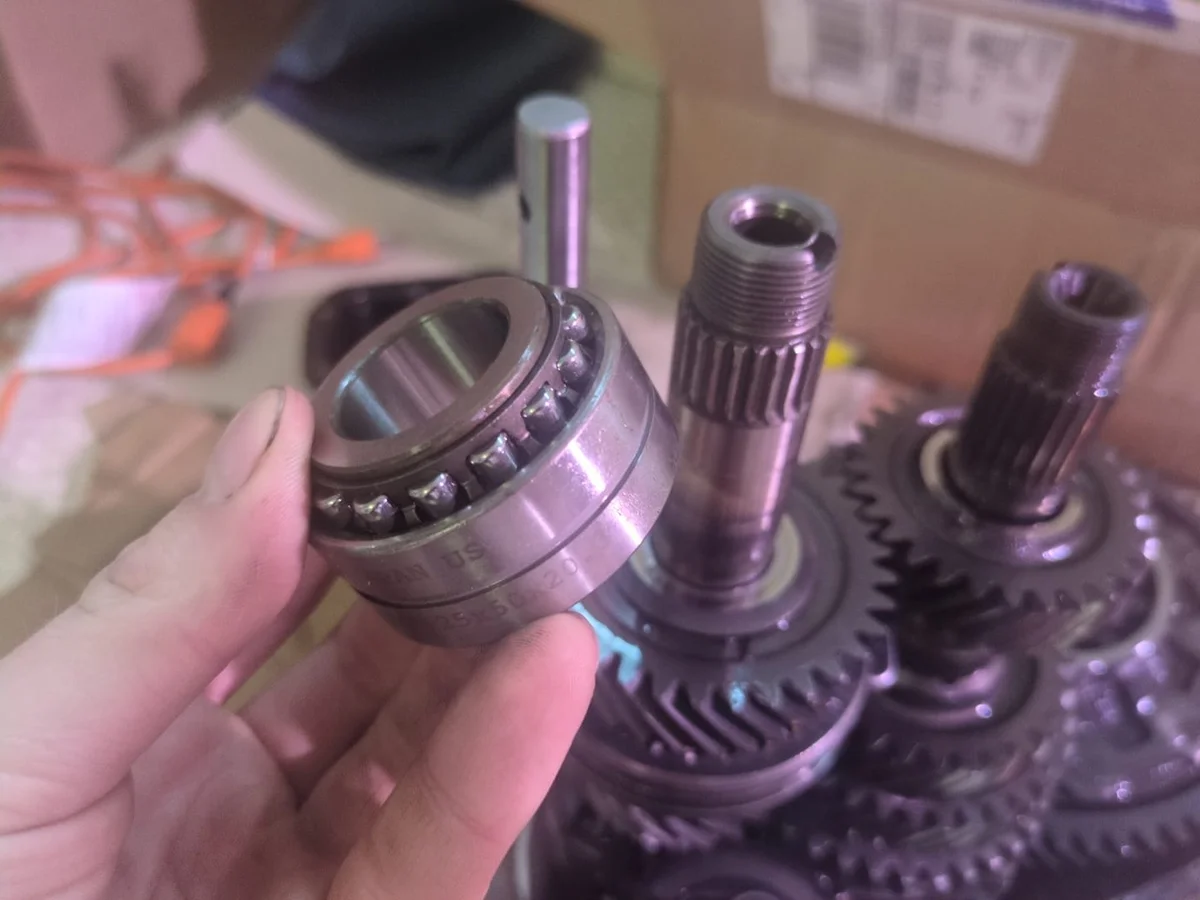

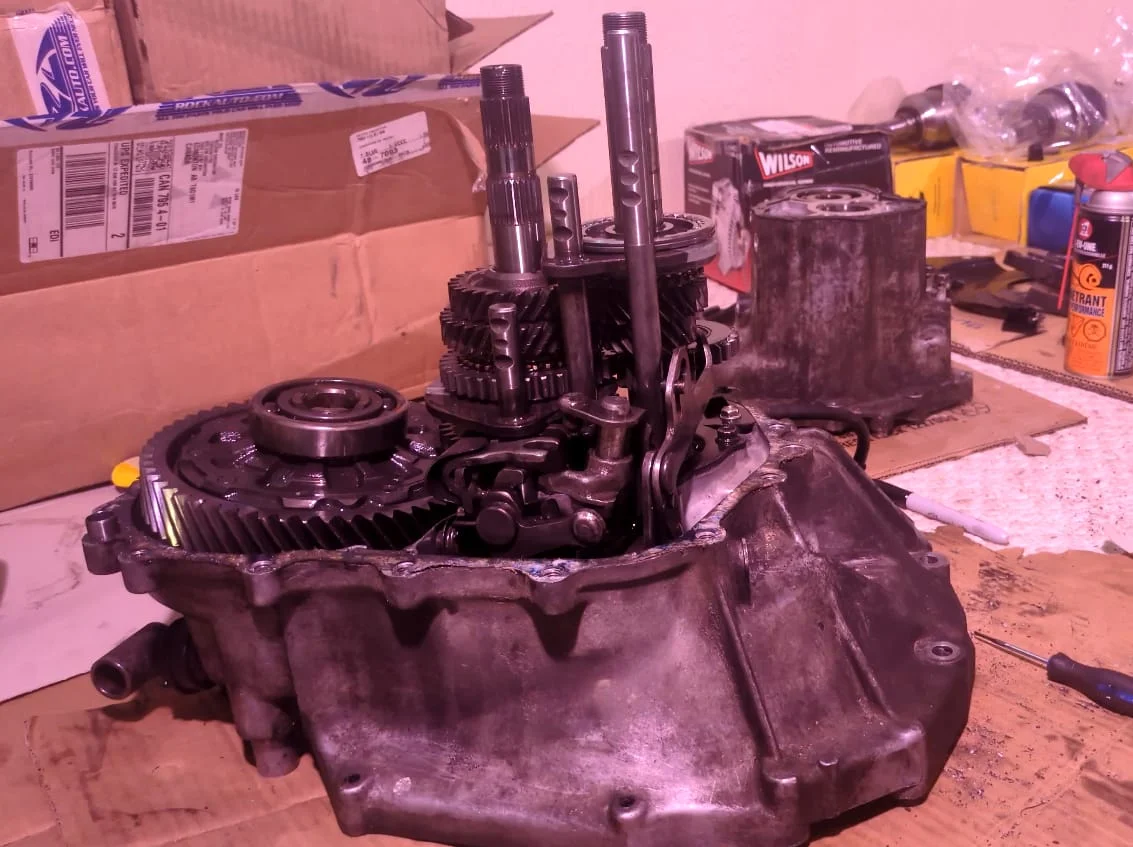
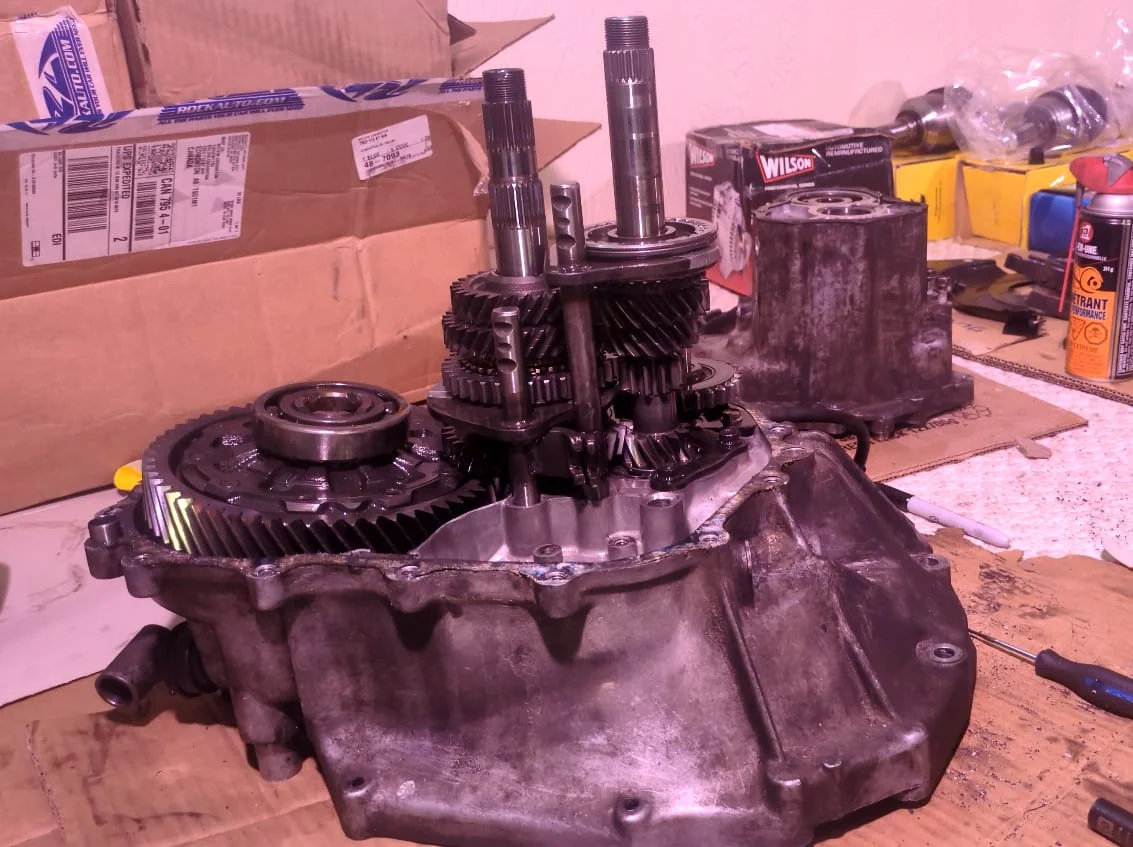
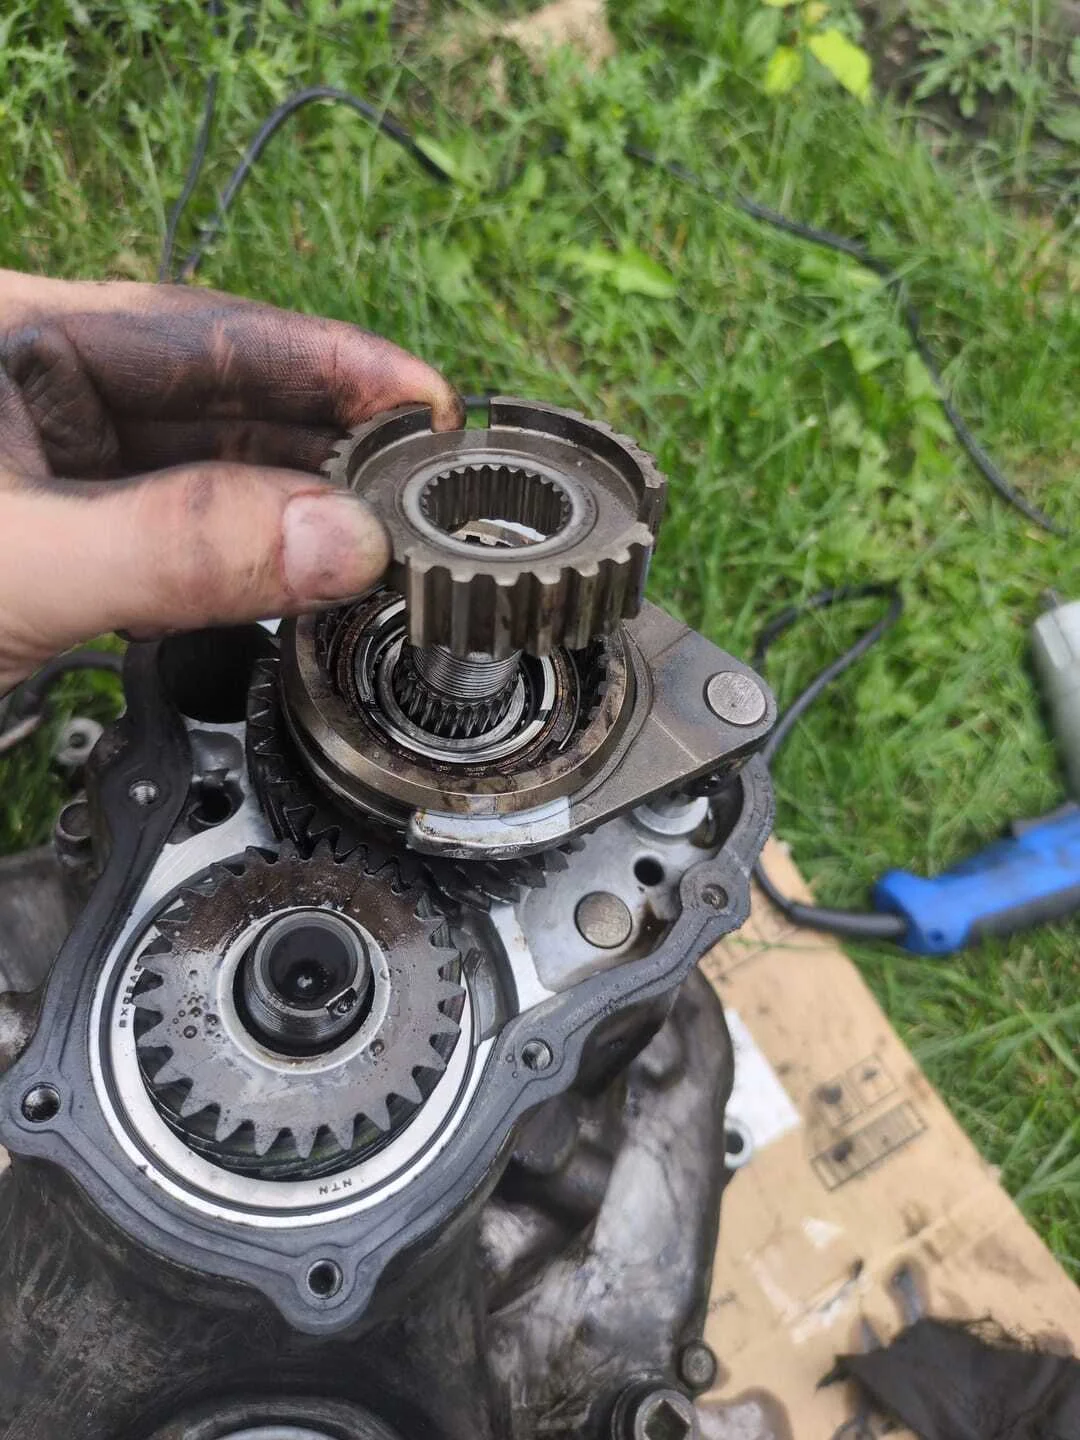
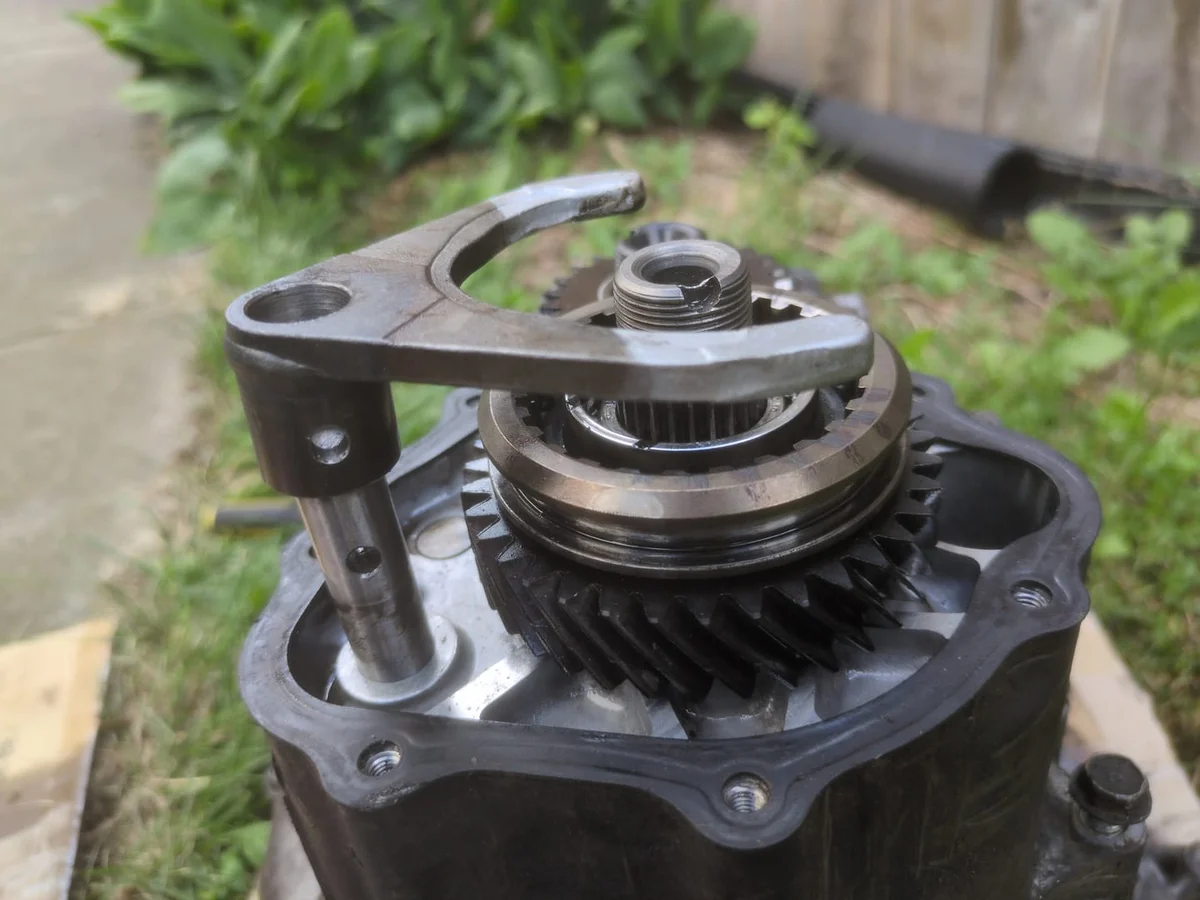
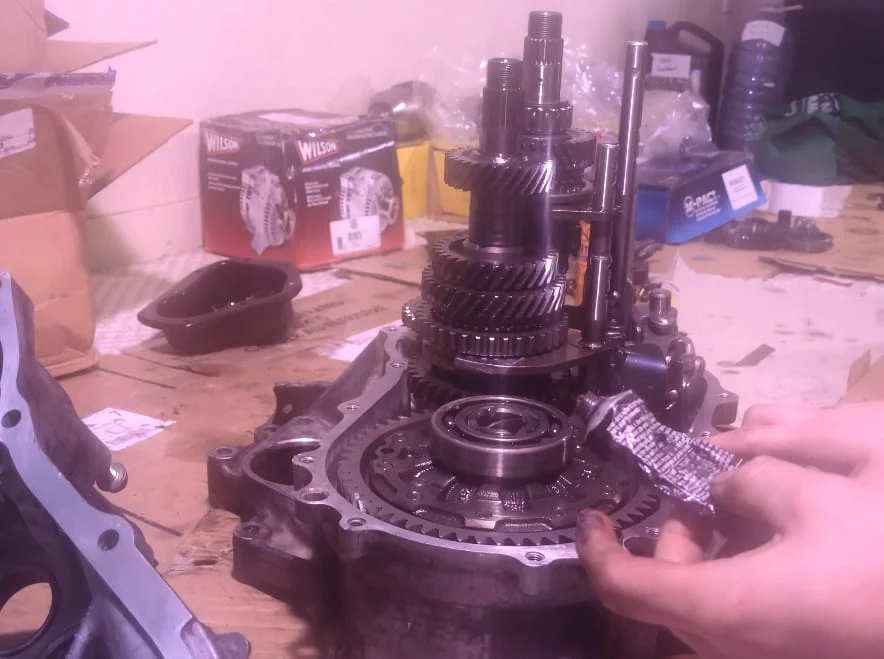
Step 10: Rebuilding the Transmission
Rebuilding the transmission was a LOT harder than tearing it down. On multiple occasions I had put the synchros in the wrong orientation or messed up the fragile linkages. By the end of it, I had dismantled and reassembled the transmission 3 times, testing the shifting by hand to make sure everything worked properly. I wont show the images here, it just looks the same as dissassembly in reverse, but with gallons of brake cleaner.
I replaced as much as I could but some of the bearings were really trapped in there and since they were still in great condition I opted to leave them alone and avoid damaging the aluminum case.
The last thing to do was clean the mating surface between the main case and bell housing with soft sandpaper to remove the old crusty gasket pieces (this was done during disassembling). Then install the new gasket with a thin layer of Black RTV to ensure a good seal.
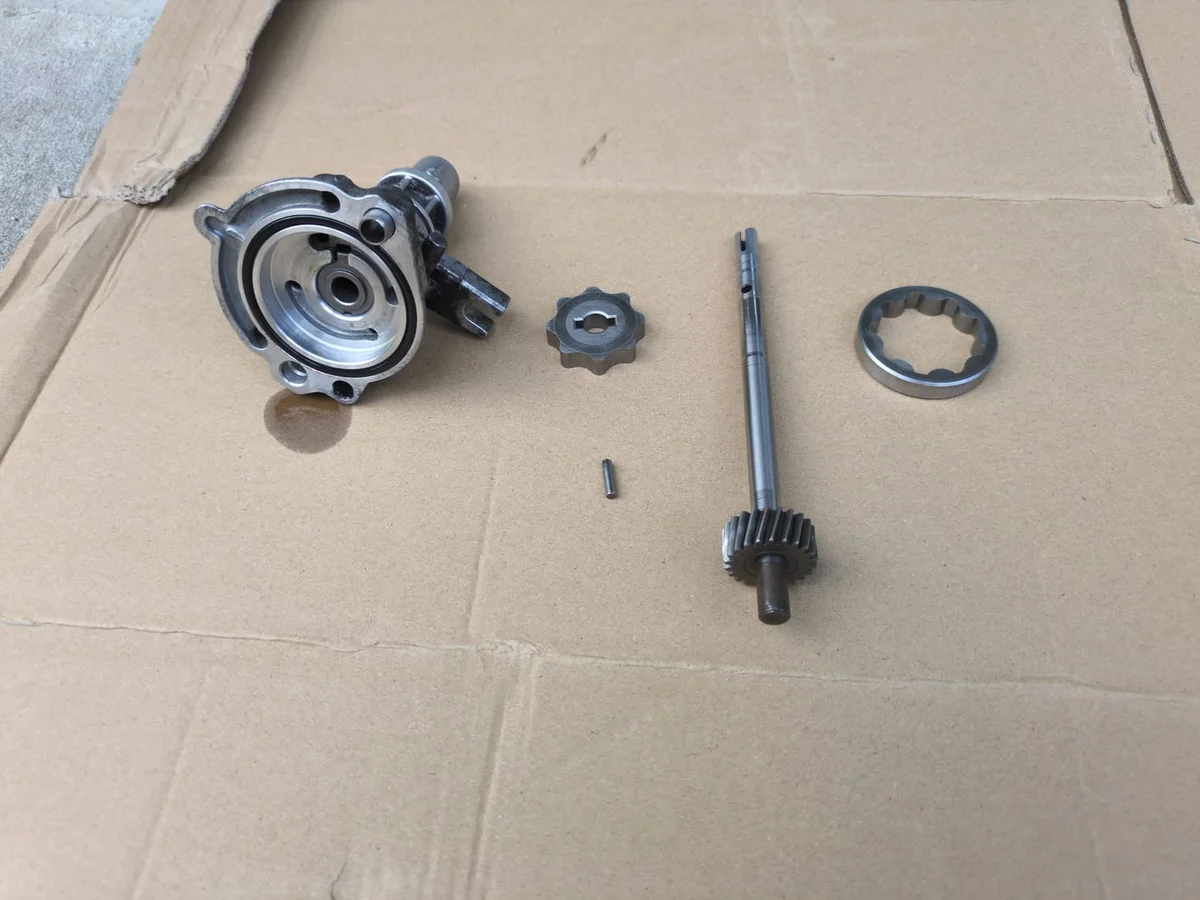
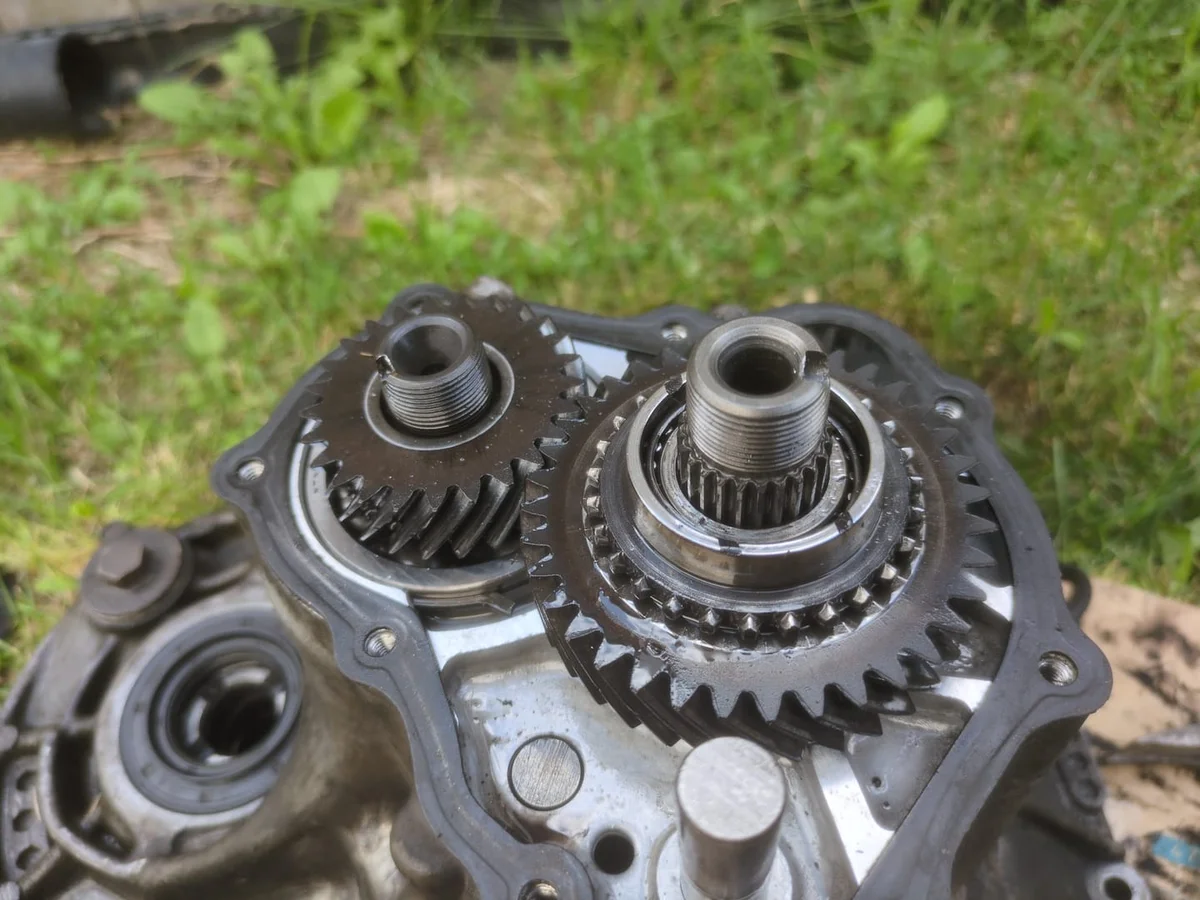
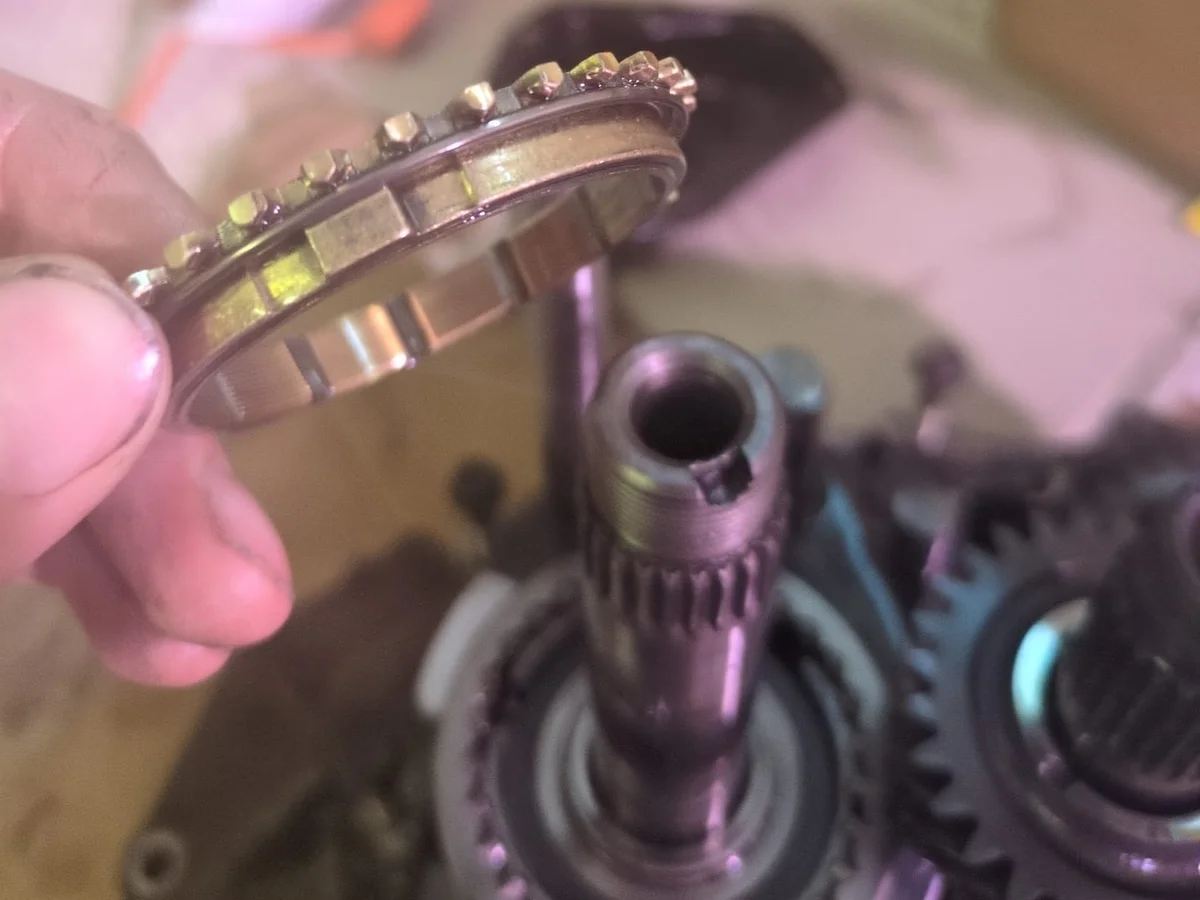
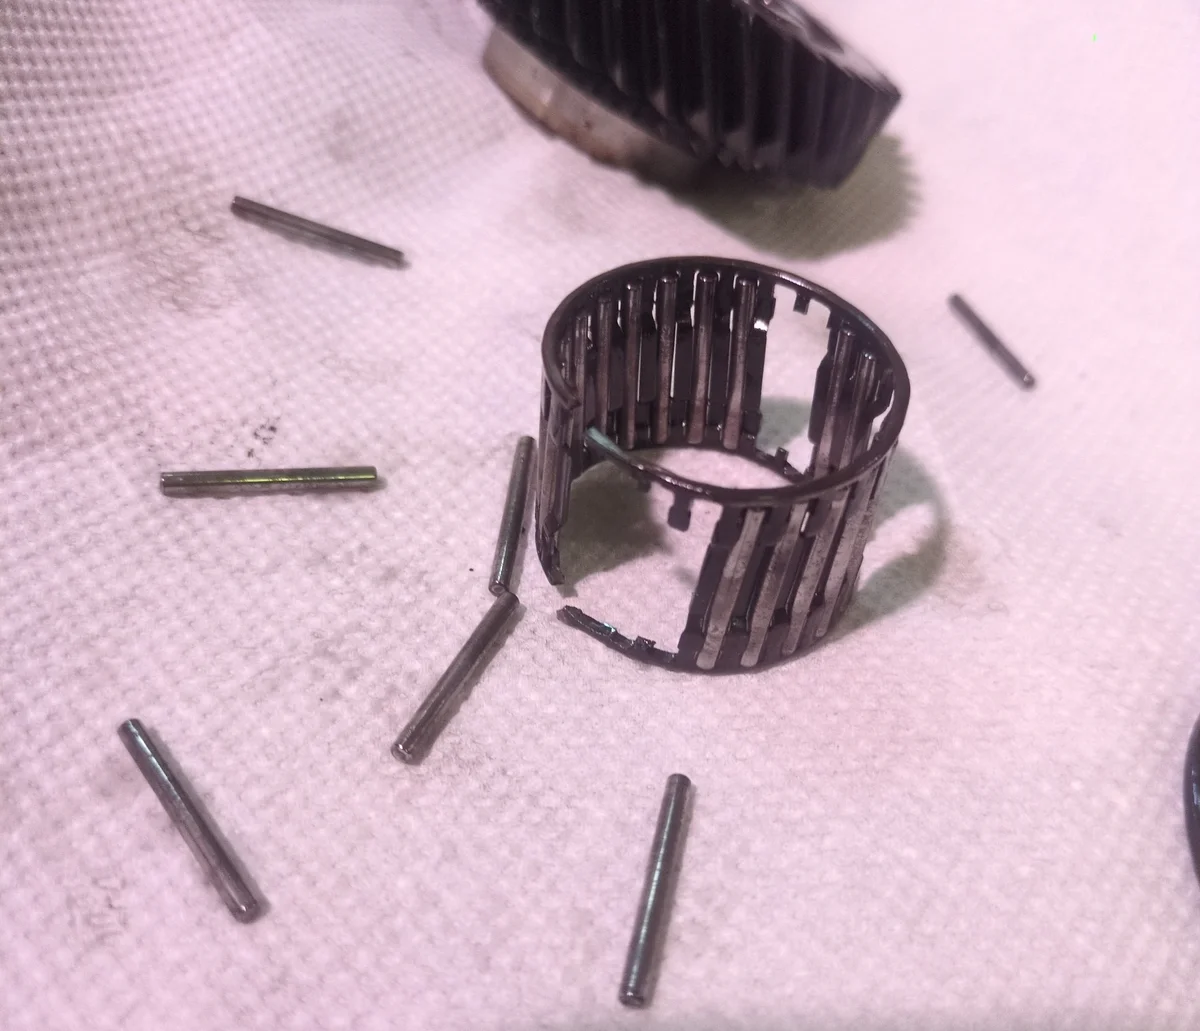
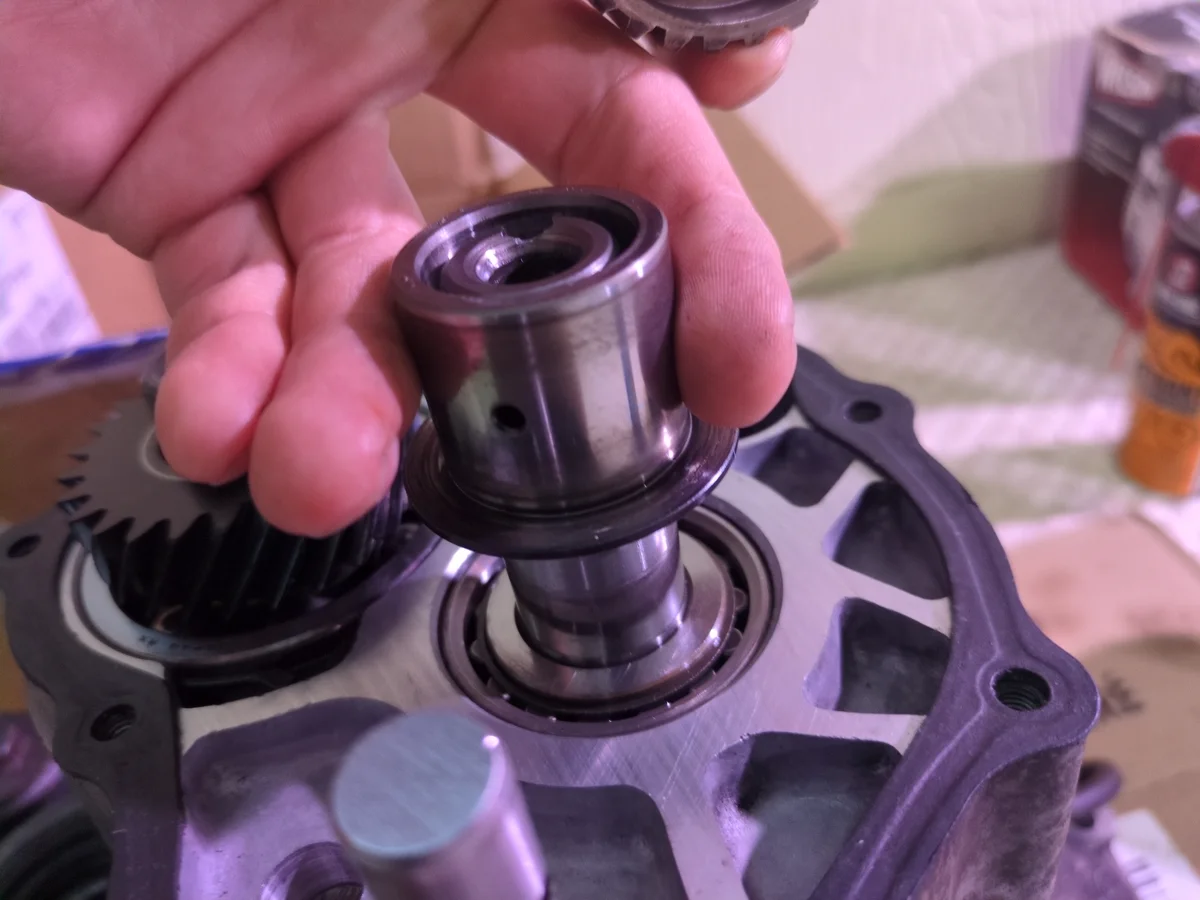
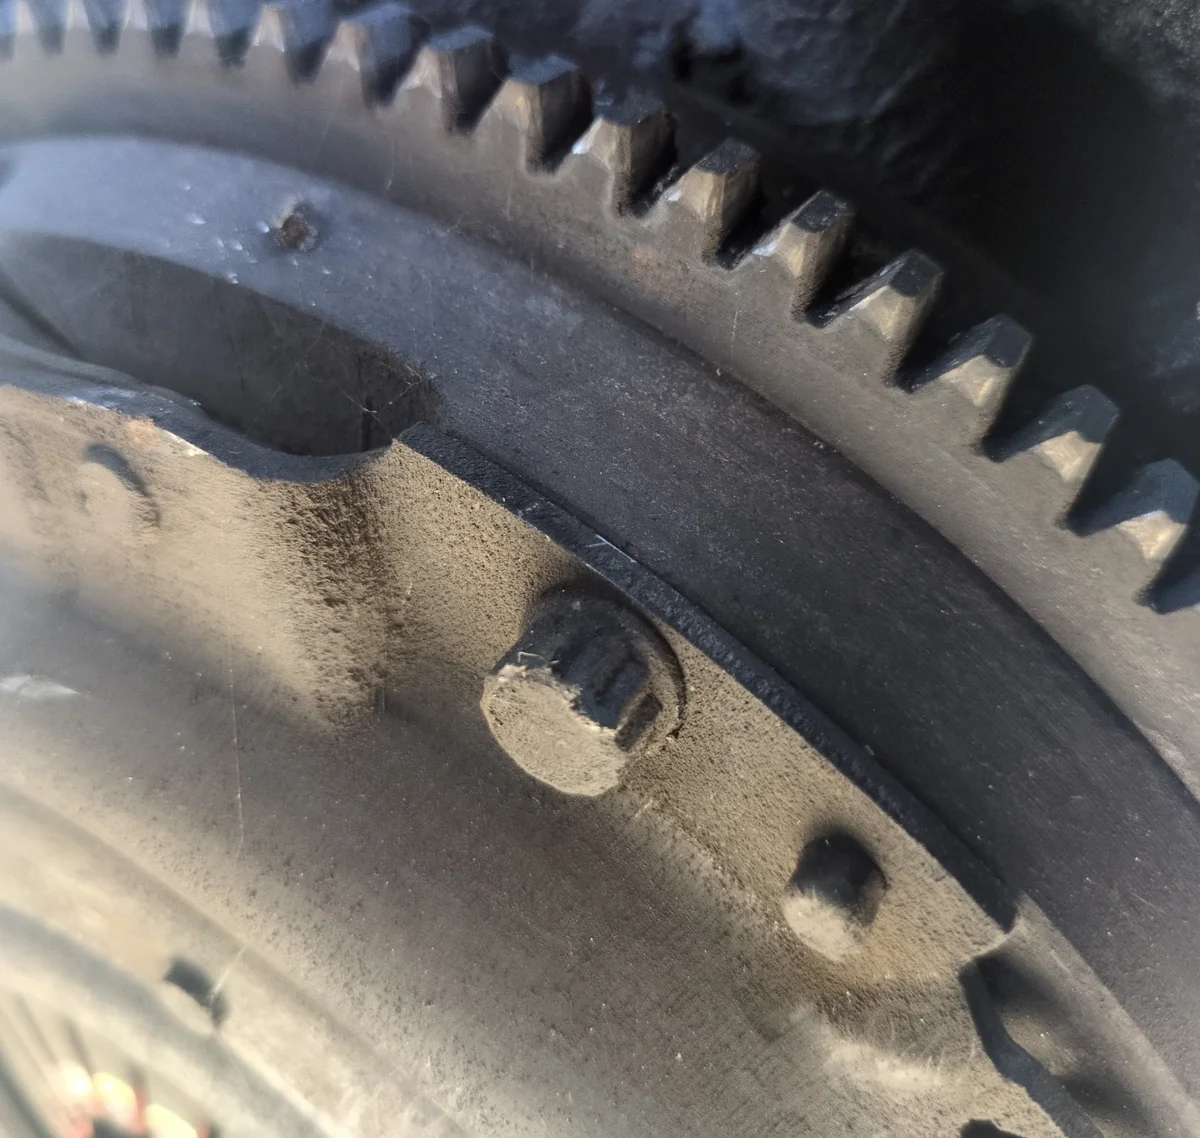
Step 11: 5th Gear Bearing Issues
When reassembling the 5th gear I noticed that one of the brearings had completely broken apart. This was very unfortunate since this specific pin bearing was not included in the rebuild kit. I found a replacement online but the shipping time exceeded the time I had to get the car ready to move apartments. I hadn't noticed this when taking it apart because I had taken it out as one whole piece and didn't inspect it closely.
I considered towing the car to the new apartment, but I wasn't about to trust a tow truck driver with a car that was in pieces. Especially when the engine wasn't mounted by transmission. I thought of chaining or holding the engine up somehow and have it towed carefully. This option was not appealing to me, so instead, I decided to continue with the rebuild and just leave the car without a 5th gear for now. I realized that since the 5th gear has its own special casing above the main case, I could essentially repair the 5th gear bearing without needing to even remove the transmission from the car again in the future.

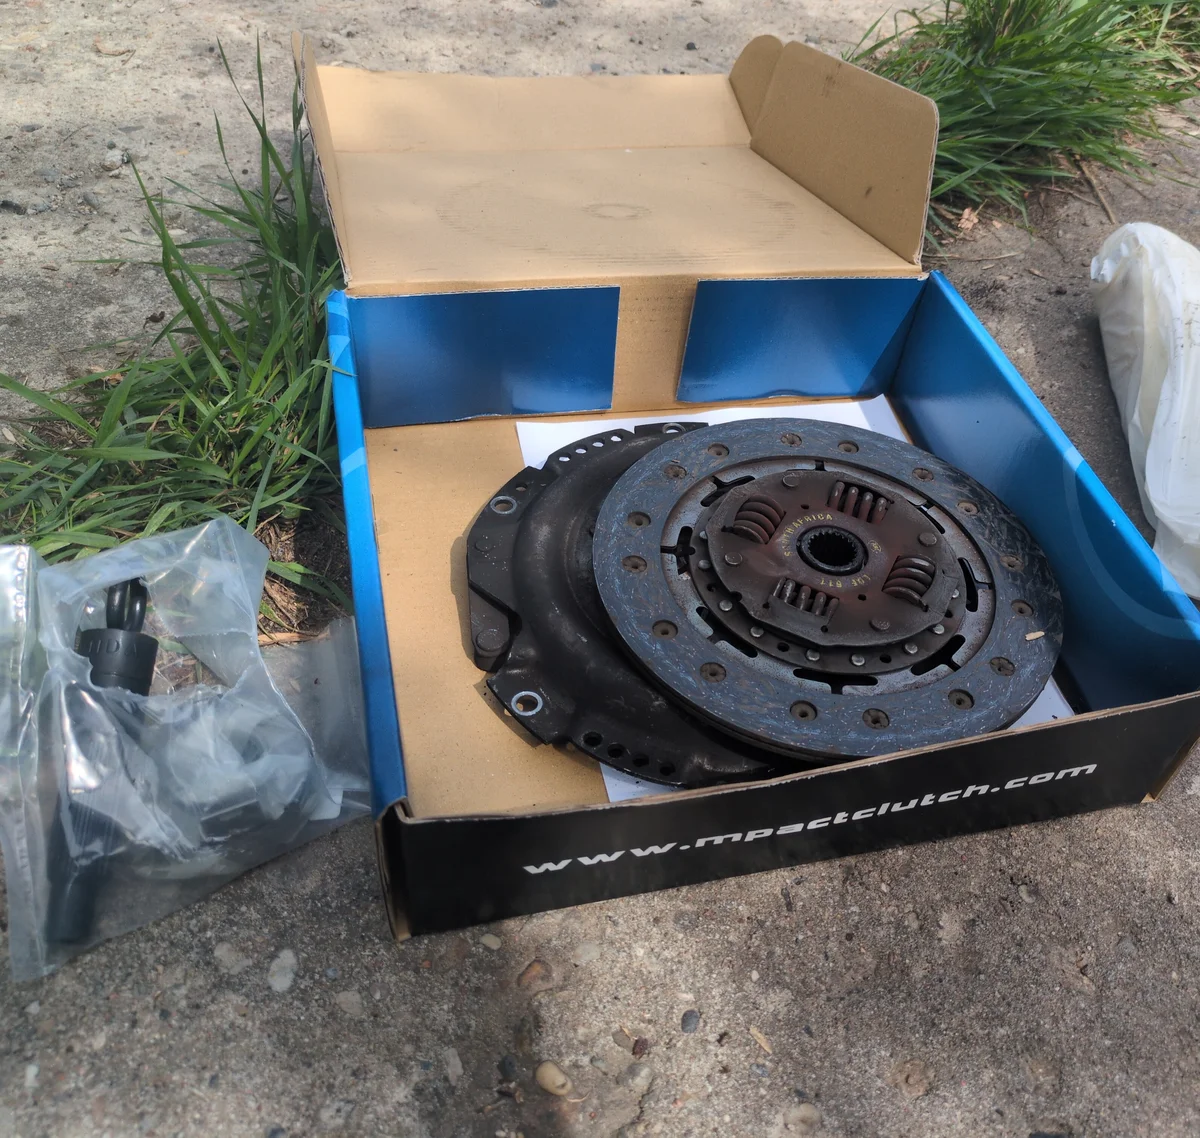
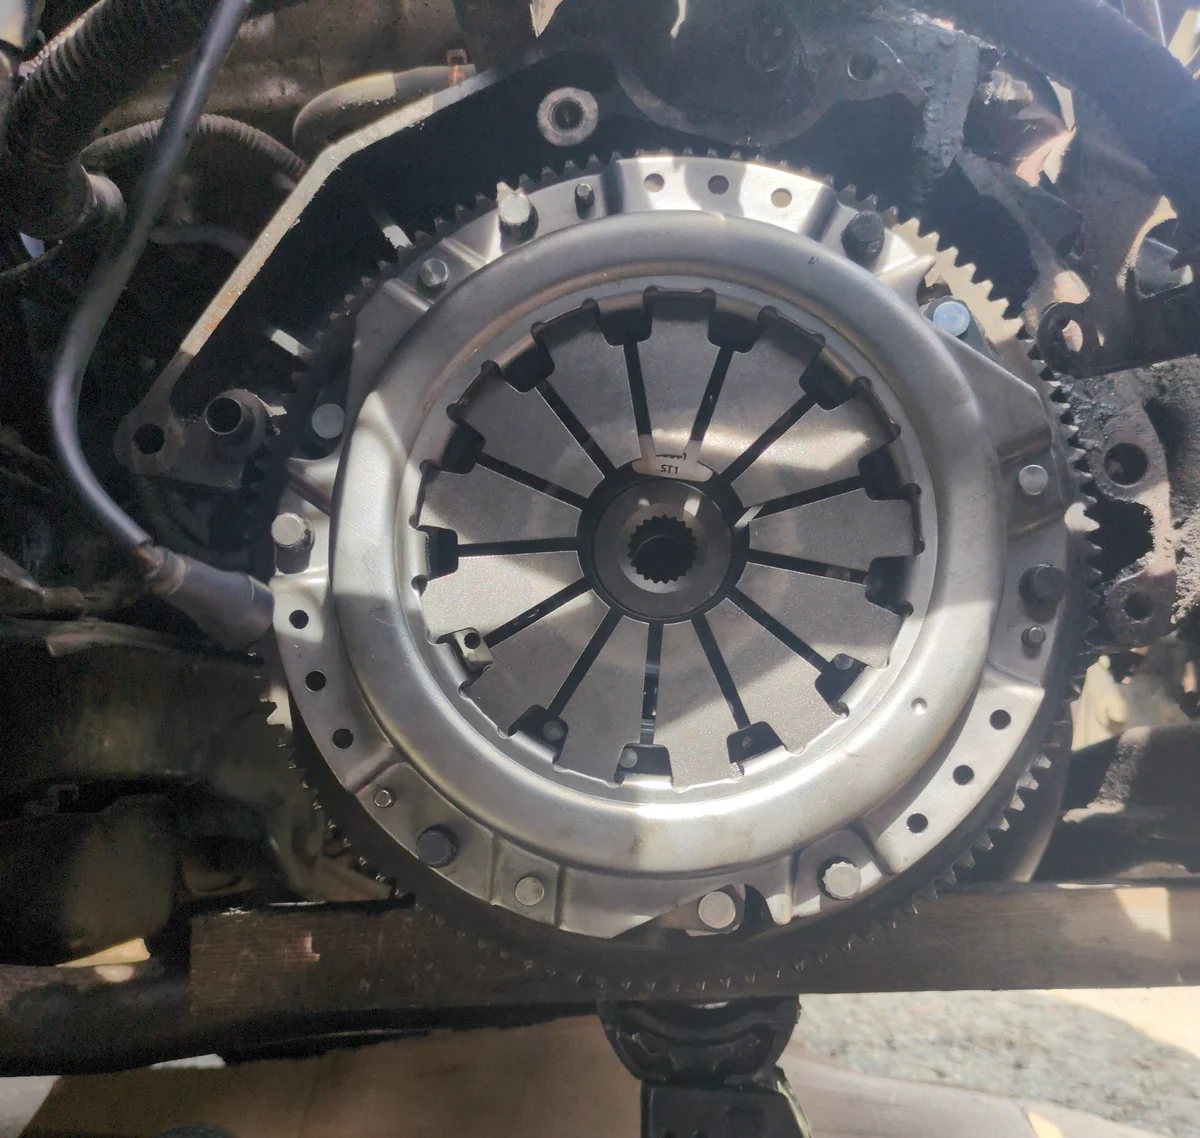
Step 12: Clutch Replacement
I had purchased a new performance upgrade clutch kit for the car, and since I had the transmission out, it was the perfect time to replace the clutch. I removed the old clutch and then installed the new one, torquing the bolts to the correct specification.
This was the moment I realized that clutch replacements are one of the easier jobs to do. The tricky part is first removing the transmission to access the clutch.
Step 13: Final Steps
I don't have any pictures of the final steps of the rebuild. At this point I was really tired and just wanted to get the car back together. I reinstalled the transmission, connected all the linkages, and filled the transmission with fluid. I then reinstalled the driveshaft, axles, and wheels.
I started it up and attempted to take it for a test drive. It started up with a bit of effor but finally was running. Unfortunetly, for whatever reason, the car stalled even before putting it into gear, and from that point, wouldn't start again. I was very distraught but realized it may have just been flooded. So I let it sit for a while and tried again. Sure enough it started right up with no issues and I took it for a test drive.
The clutch was a bit tighter, which was to be expected because it was new and I also gave it the performance upgrade. The car shifted smoothly through all the gears (except 5th), and I was very happy with the results.
Closing Thoughts
Rebuilding a transmission is without a doubt one of the most challenging DIY projects I've ever tackled. It was a test of patience, endurance, and precision with many worrying moments of not having the capabilities to complete the task. Between the literal rain and the many unfortunate surprises, there were plenty of moments where it felt like the car wouldn't be fixed in time.
However, after an exhilarating test drive, I knew it was all worth it. You really can't beat the feeling of driving a car knowing you are the one who brought it back to life.